If your photos from African Lion Safari Canada keep turning out flat, blurry, or full of window glare, you’re not alone. Fast-moving wildlife, harsh midday sun, and the realities of shooting from a vehicle can sabotage even seasoned photographers.
The good news? With smart planning and the right techniques, you can capture sharp, soulful images of lions, giraffes, rhinos, and raptors—without pricey safari gear. This guide distills field-tested strategies, insider timing tips, and ethical practices for both beginners and enthusiasts to master African Lion Safari Ontario in a single day.
Ready to turn drive-through sightings into wall-worthy shots? Let’s go.
Why African Lion Safari (Hamilton, Ontario) is a photography goldmine
African Lion Safari near Hamilton/Cambridge offers a rare mix of intimate wildlife encounters, a self-drive safari, and scheduled shows that reward careful timing. It’s one of the most popular safari parks in Canada, with lions, giraffes, zebras, rhinos, and an acclaimed Birds of Prey show—ideal for wildlife photography in Ontario.
- Drive-through Game Reserves bring you close to subjects without fences in-frame.
- The self drive safari Ontario format gives you control over pacing and positioning.
- The park’s layout lets you loop for different light and behaviors across the day.
For hours, pricing, and current policies, check the official site: African Lion Safari.
Quick planning essentials
- Season: Typically spring–fall; confirm dates and hours on the official site.
- Tickets: Buy Ontario safari park tickets online to skip queues and secure your date. See African Lion Safari Tickets.
- Location: Near Hamilton, accessible from the 401 (close to Cambridge/Kitchener-Waterloo).
- Mobility: Choose between self-drive or the Safari Tour Bus (great if you prefer not to use your car).
- Shows: Check same-day times for the Birds of Prey show and plan your loop around it.
- Fuel and food: Fill up before arrival; bring water and snacks to maximize time in the reserves.
Best time to visit for photography
- Time of day: Early morning right after opening and late afternoon before closing. Lions are more active in cooler hours; light is softer with catchlights and rim glow.
- Day of week: Weekdays outside school holidays for fewer vehicles and cleaner compositions.
- Season: Late spring (fresh greens, active young), early fall (golden tones, cooler temps). Mid-summer can be harsh; prioritize golden hours and shade.
- Weather: Thin cloud = natural softbox. Light rain = saturated colors and dramatic eyes with droplets.
15 epic photography tips for African Lion Safari Canada
Nail focus on the eyes
Use single-point AF for portraits and back-button focus. Track the nearest eye; it’s the anchor for emotional impact when photographing lions and giraffes.Shutter speed first, then ISO
- Walking animals: 1/800–1/1000s
- Running or wingbeats: 1/1600–1/2500s
- Static portraits: 1/400–1/640s
Raise ISO confidently; modern sensors handle ISO 1600–3200 well.
Stabilize in the car
Rest your lens on a bean bag or folded jacket. Turn off image stabilization if the lens is fully braced; keep it on if there’s still micro-vibration.Kill reflections and haze
Shoot with windows lowered where allowed and safe. Use a rubber lens hood pressed to glass; a circular polarizer cuts glare on fur, horns, and water.Compose like a storyteller
- Portrait: head-and-shoulders, eyes at top third.
- Environmental: include savanna grasses, dust, or fellow herd members.
- Behavior: yawns, grooming, nuzzling, and big-cat “flehmen” moments.
Work the light
Morning: front or side light for crisp detail. Afternoon: backlight for halos around manes and whiskers. Expose to protect highlights and keep fur texture.Anticipate behavior
Stop shooting during naps; start when one animal lifts its head, stretches, or looks toward a sound. Pre-focus and be ready to burst.Use aperture for separation
f/4–f/5.6 isolates a subject from busy backgrounds; f/8–f/11 for groups or when you need both eyes sharp in off-angle portraits.Drive strategically
Let clusters of cars pass; pull over with clear sight lines. Park at 45° to the subject so your lens points diagonally—not straight across your hood.Build a mini flow in each reserve
First pass: scout angles and note behavior. Second pass: wait for moments. Third pass: target backlit or creative angles.Expose for dark fur, protect highlights
For lions in bright sun, dial in -0.3 to -0.7 EV to avoid blown patches on nose and whiskers. Use zebras as a “white point” reference.Get low—even in a vehicle
Lower your seat or shoot from the back seat to minimize the “towering car angle.” Eye-level images feel more intimate and less touristy.Keep bursts short and intentional
Use short, purposeful bursts during peak action (yawns, shakes, wingbeats) to increase your keeper rate without filling cards.Respect distance and rules
Never bait, call, or tap your vehicle to get attention. Remain inside your vehicle where required, with windows and doors managed per posted rules.Edit with a wildlife-first ethos
Avoid over-saturation. Warm the highlights slightly for golden-hour mood; lift shadows gently for fur detail; dodge eyes subtly for life-like sparkle.
Highlights and attractions you shouldn’t miss
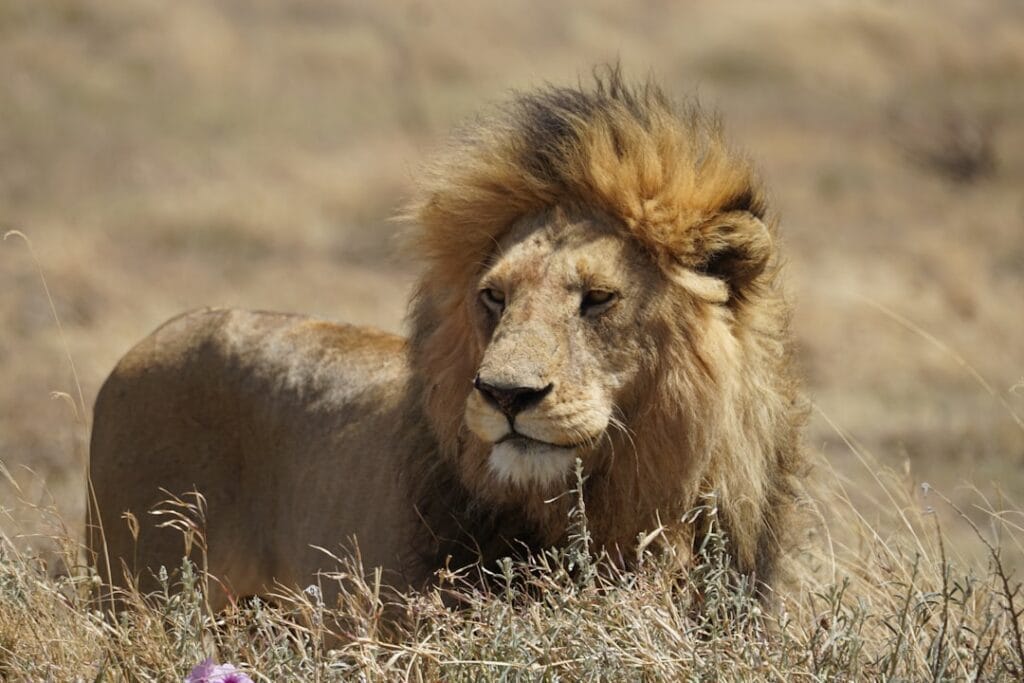
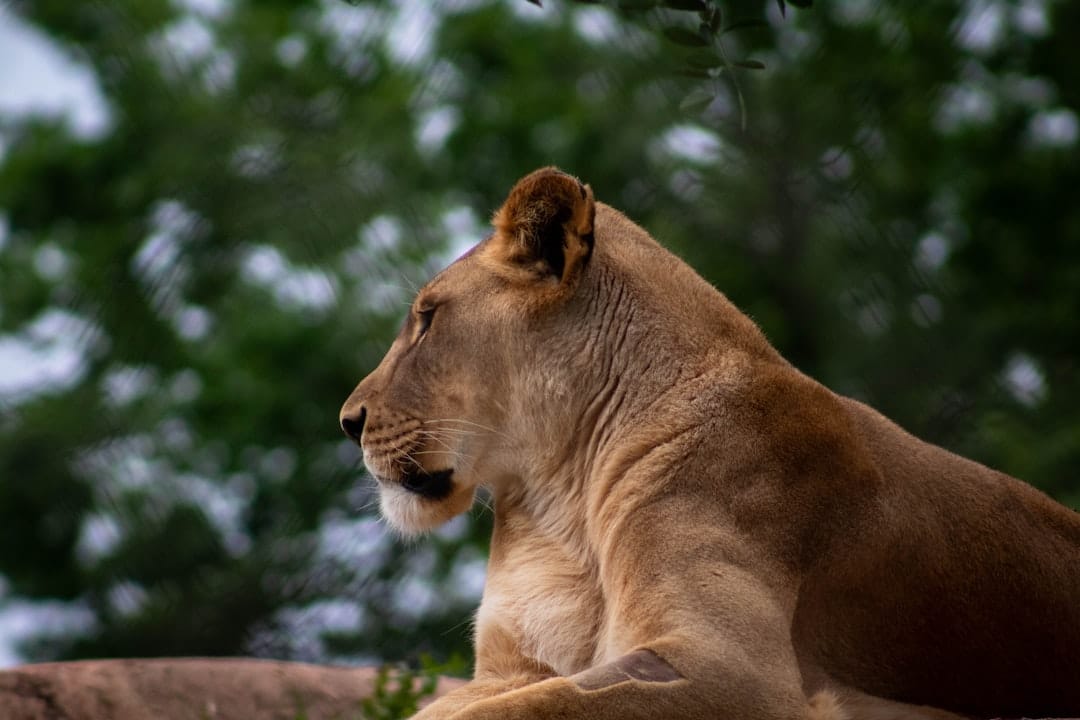
- Lions and predators: Prioritize morning and late-day loops. Look for yawns, stretches, and social greetings.
- Giraffes and zebras: Great for layering shapes and patterns. Use leading lines of the road for depth.
- Rhinos and hoofstock: Side light emphasizes texture on skin and horns.
- Water areas: Reflections, ripples, and birds add storytelling layers.
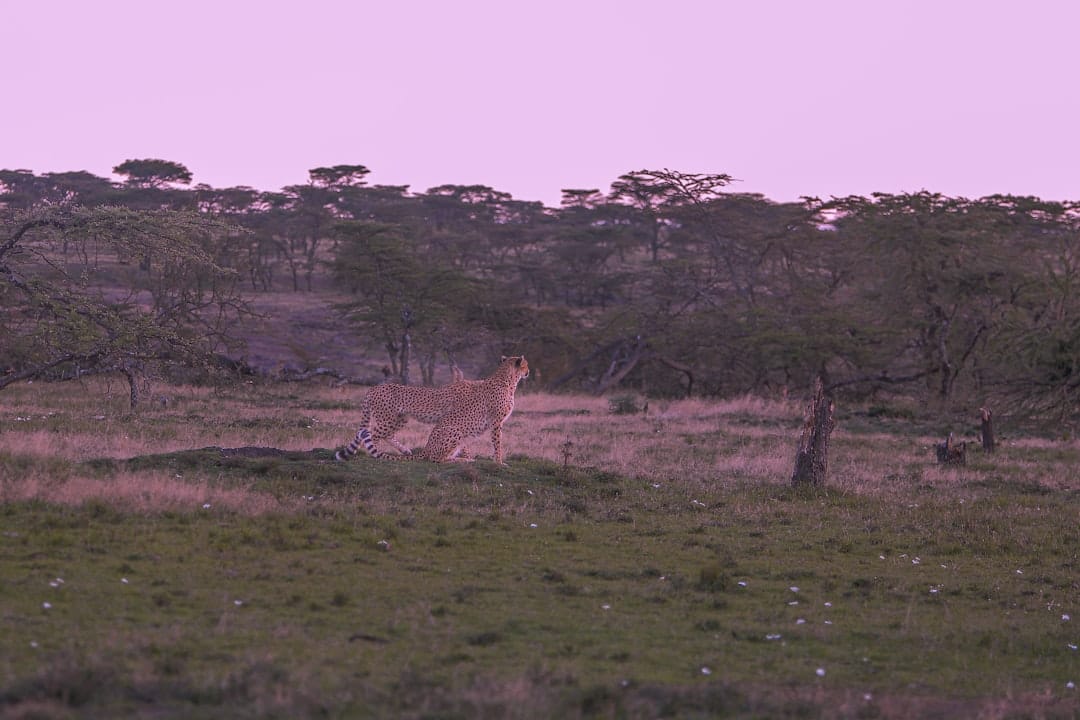
Pro tip: On busy days, wait 3–5 minutes after a backup clears. Animals often reorient once the noise settles, giving you cleaner frames and eye contact.
Self-drive vs. Safari Tour Bus: which is better for photographers?
Self-drive safari (most control)
- Pros: Choose your pace, stop for angles, lower windows where permitted, shoot from multiple seats.
- Considerations: Follow all park rules; mind gear security; avoid blocking traffic.
Safari Tour Bus (least hassle)
- Pros: No wear on your car; elevated perspective for seeing over vehicles; guided insights.
- Considerations: Windows may limit angles; shooting space is shared; plan faster shutter speeds for movement.
If you’re new to wildlife photography in Ontario, consider one loop on the bus to scout, then a self-drive loop for your best shots.
The Birds of Prey show: freeze the action
Raptors in flight demand faster shutter speeds and decisive panning. Arrive 15–20 minutes early to pick an aisle seat with a clean background and side light.
Settings starting point:
- Shutter: 1/2000s
- Aperture: f/5.6–f/7.1
- ISO: Auto with upper limit 4000
- AF: Wide-area or tracking; back-button focus; burst High
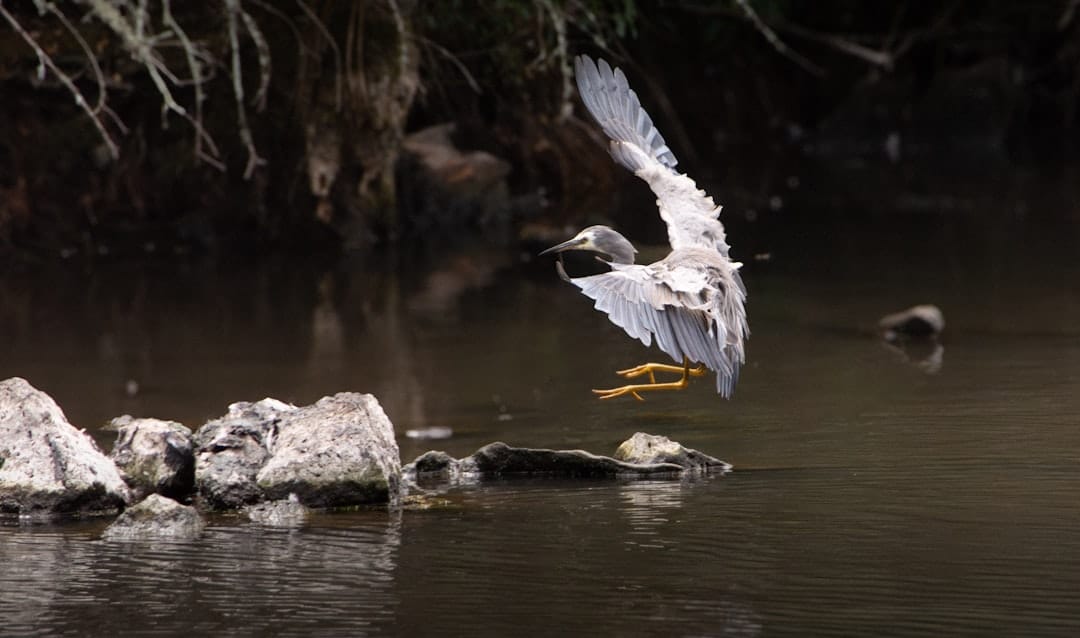
Tactics:
- Track the bird before it enters your clean background.
- Shoot as wings are fully spread or when the bird looks toward the handler for eye line.
- Use continuous autofocus; keep elbows in, hips square, and pan smoothly.
Gear checklist for success
- Camera: Any modern mirrorless/DSLR with decent AF.
- Lenses: 70–200mm, 100–400mm, or 150–600mm; a fast 300mm prime if you have it.
- Stabilization: Bean bag, small pillow, or window mount (be mindful of park guidelines).
- Filters: Circular polarizer; rubber lens hood to darken window shots.
- Essentials: Extra batteries, dual memory cards, microfiber cloth, rain cover or zip bags.
- Comfort: Water, snacks, sun protection, and a dashboard towel to reduce reflections.
Ethical and safety essentials
- Obey all posted rules, especially in predator reserves.
- Keep hands, lenses, and gear inside as required; never feed or call animals.
- Give space to vehicles and wildlife; avoid blocking movement.
- Drones are not permitted; check current policies on the official site.
- Photograph behaviors without influencing them—patience over provocation.
Review park guidance before you go: African Lion Safari – Plan Your Visit.
Sample 1-day photographer’s itinerary
- Gate opening: Enter at opening. First loop for predators in cool air; shoot portraits and behavior in soft light.
- Late morning: Shift to giraffes, zebras, and hoofstock; look for shade patterns and mid-tones under cloud.
- Midday break: Early lunch; scout Birds of Prey arena and confirm times.
- Early afternoon: Birds of Prey show—fast shutter, clean backgrounds, and side light.
- Late afternoon: Second loop. Target backlight on manes and dust. Wait for movement and interactions.
- Golden hour: End with environmental portraits—animals against warm sky or reflective water.
Ticketing, hours, and on-the-day logistics
- Book online early for peak weekends and holidays: Official Tickets.
- Check show times and any route or animal-viewing updates posted that day.
- Build in buffer time for traffic and multiple loops of the reserves.
- For nearby travel inspiration and Ontario road-trip planning: Destination Ontario.
Beyond the park: stay and explore
Base yourself in Hamilton, Cambridge, or Kitchener-Waterloo for easy access. Sunrise and sunset opportunities abound at nearby conservation areas and lakes for landscape add-ons to your wildlife portfolio.
- Browse recent traveler photos and reviews: Tripadvisor – African Lion Safari
Related reads on The Quite Wild
- Ontario Wildlife Photography Guide
- How to Photograph Birds in Flight
- Best Time to Visit Ontario’s Parks for Photography
African Lion Safari photography settings cheat sheet
- Predators in shade: 1/800s, f/4–f/5.6, ISO 1600–3200
- Bright sun portraits: 1/1000s, f/5.6–f/8, ISO 200–800, -0.3 EV
- Running or wingbeats: 1/2000s, f/5.6–f/7.1, Auto ISO (cap 4000)
- Backlit mane: expose for highlights; use -0.7 EV; consider spot metering
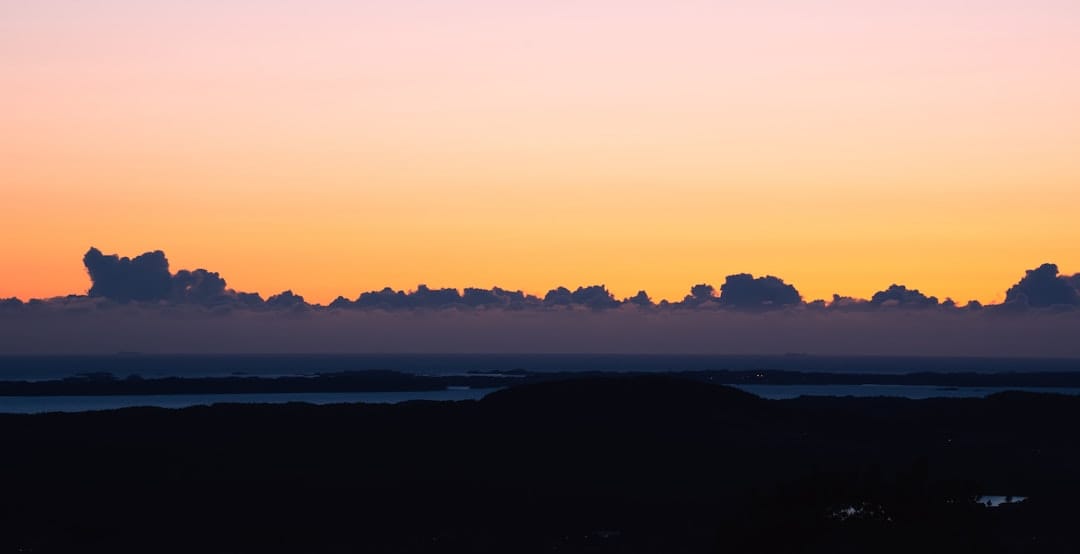
Capture the first yawn, the last rim-lit mane, and everything in between. African Lion Safari Hamilton rewards patience, ethical distance, and an eye for light. Share your favorite frames, tag your location, and inspire the next Ontario safari park adventure.
FAQ
What’s the best time of day to photograph lions at African Lion Safari?
Right after opening and the final 60–90 minutes before closing. Cooler temps increase activity, and low-angle light adds catchlights and fur texture.
Is self-drive or the Safari Tour Bus better for photographers?
Self-drive offers the most control over angles, windows, and pacing. The Safari Tour Bus provides elevation and convenience. Many photographers do one bus loop to scout, then drive themselves for the keepers.
What focal length do I need for wildlife at the park?
A 100–400mm covers most situations. Add a 150–600mm for distant subjects and tight portraits. For the Birds of Prey show, 200–400mm is a versatile range.
Can I use a tripod or drone?
Tripods are impractical in vehicles and may not be allowed in certain areas; a bean bag is better. Drones are not permitted—always review the latest policies on the official site: African Lion Safari.