15 Proven Tips for Birds in Flight Photography
Capturing sharp, dramatic birds in flight photography is one of the most rewarding—and frustrating—skills in nature shooting. You frame, you focus, and the bird flashes out of your viewfinder. Missed focus. Motion blur. Blown skies. Sound familiar?
Here’s the good news: with the right settings, technique, and fieldcraft, your keeper rate can soar. This guide condenses pro-tested BIF photography methods—shutter speed for birds, autofocus tracking, panning technique, back button focus, burst mode, exposure compensation, and more—into simple steps you can put to work today.
Whether you’re practicing with gulls at the beach or traveling to bucket-list birding travel destinations, these tips will help you nail focus, preserve detail, and craft images that feel alive.
Quick-Start: The Reliable Base Settings
Use this as your baseline, then fine-tune for light, speed, and species.
- Mode: Manual exposure or Shutter Priority with Auto ISO
- Shutter speed for birds: 1/2500–1/3200 sec for fast wings; 1/1600 sec for larger gliders
- Aperture: f/5.6–f/8 (stop down slightly for wing-to-eye sharpness)
- ISO: Auto ISO with upper limit you’re comfortable with (e.g., 6400 on modern sensors)
- Autofocus: AF-C/AI Servo + Subject/Animal detect + Wide/Zone area
- Drive: High-speed burst mode
- Metering: Evaluative/Matrix; add +0.3 to +1.0 EV exposure compensation for bright skies
- Stabilization: On (Mode 2 or panning mode) for smoother pans
The 15 Proven Tips (Actionable and Field-Tested)
Prioritize shutter speed over everything
Set your shutter first. For small, fast birds (swallows, terns), start at 1/3200 sec. For larger species (herons, eagles) in steady flight, 1/2000 sec is often enough. If light drops, raise ISO before compromising shutter.Master autofocus tracking with the right area mode
Use continuous autofocus with wide/zone or subject-tracking. Let the camera track the bird’s head/eye. If your mirrorless supports Animal/Bird detect, enable it; it improves sticky focus on the eye even when wings fill the frame.Use back button focus for separation of tasks
Assign AF-ON to your thumb. This decouples focus from the shutter and reduces accidental refocusing mid-burst. It’s essential for BIF photography where timing and tracking come fast.Dial exposure compensation for sky backgrounds
Against bright sky, metering can underexpose the bird. Add +0.3 to +1.0 EV exposure compensation to reveal feather detail. Against dark backgrounds, you may need –0.3 to –0.7 EV to avoid blown highlights.Learn a smooth panning technique
Feet shoulder-width apart, elbows tucked, rotate at the hips, and follow-through after the shutter. Use a shutter speed that fits your intent:
- Freeze detail: 1/2000–1/3200 sec
- Motion feel (wing blur, sharp head): 1/60–1/250 sec
Practice on predictable flyers like gulls to refine rhythm.
Anticipate behavior and shoot the moments between beats
Watch wing cycles and shoot at full extension for aerodynamic shapes. Anticipate takeoffs, landings, dives, and banked turns—the most expressive frames often happen just before or after a major move.Compose for clean backgrounds and direction of motion
Shift your position to place the bird against distant water, sky, or a uniform treeline. Leave space in front of the bird to “fly into.” Side light can sculpt form; backlight is stunning for translucent wings.Use burst mode intelligently
Short, controlled bursts maintain buffer and help you catch peak wing position without spraying and praying. Time bursts as the bird changes direction, banks, or hits a catchlight.Choose the best lens for bird photography you actually control well
A sharp 100–400mm or 150–600mm zoom offers versatility for erratic motion. Faster primes (300mm f/2.8, 400mm f/2.8) deliver elite AF speed and background separation, but demand strong technique and support.Fine-tune mirrorless settings for birds
Turn on subject detection (Bird/Animal), set AF sensitivity to “responsive,” and enable high-speed electronic shutter if your camera has minimal rolling shutter. Consider pre-capture/buffered release for unpredictable takeoffs.Stabilize smartly—monopods and gimbal heads
For long sessions, a monopod or gimbal reduces fatigue and improves tracking smoothness. Handheld is fastest; supports are steadier for heavy glass and long waits.Find the right light—golden hour bird shots are magic
Early and late light adds warmth, direction, and texture to feathers. Overcast days can be superb for even exposures and color. Harsh midday? Backlight silhouettes or tight detail with exposure carefully controlled.Focus on the eye and keep it lit
Shift your AF area toward the head and track the eye. Look for a catchlight—a small sparkle from the sun or sky—that brings life to the image.Increase keeper rate with predictable practice subjects
Practice with ducks, gulls, cormorants, or city pigeons. Their regular flight paths and tame behavior sharpen your reflexes and reveal what settings you can trust.Respect distance and ethics—let the bird lead
Avoid flushing resting or nesting birds. Keep to paths, use longer lenses instead of stepping closer, and leave if you see stress cues. Ethical fieldcraft yields more natural behavior—and better photos.
Autofocus Deep-Dive: Tracking That Sticks
- AF Mode: AF-C/AI Servo with Bird/Animal detect when available.
- AF Area: Wide/Zone for acquisition; switch to smaller zones if clutter confuses AF.
- AF Sensitivity: More responsive for erratic flyers; less responsive if your lens hunts.
- Use AF-ON to “prime” focus on the bird, then maintain half-press for stabilization during bursts.
If your camera supports it, enable “Focus priority” over “Release priority” for first frame to reduce initial misses, then “Balanced” for following frames to maintain burst speed.
Exposure That Preserves Feather Detail
- Start at 1/2500 sec, f/5.6–f/7.1, Auto ISO; add +0.7 EV for white birds against sky.
- For dark birds (cormorants, black skimmers) in sun, watch for clipped blacks—slightly overexpose then recover midtones in post.
- Use your histogram and highlight alert (“blinkies”). ETTR (expose to the right) carefully to maintain detail without clipping.
Pro tip: In changing light (clouds passing), shutter priority + Auto ISO + min shutter 1/2000 sec can save you while tracking.
Panning Technique: Train Your Body, Not Just Your Camera
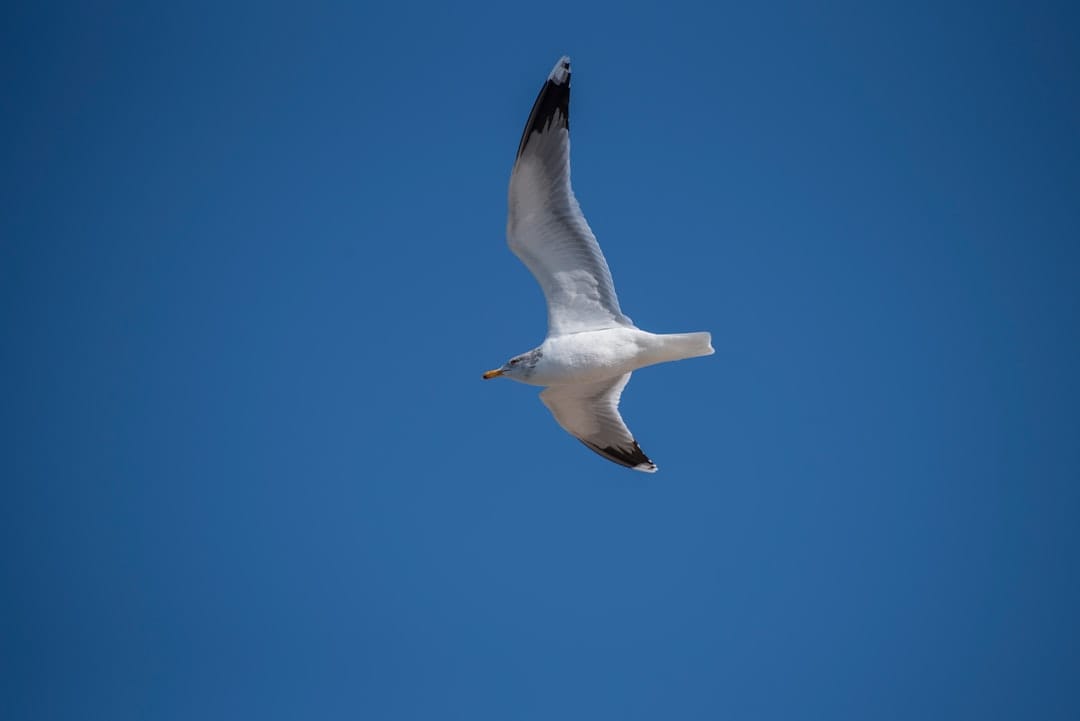
- Plant your feet, rotate from your core, keep the bird centered in your frame line.
- Use IS Mode 2 (or “panning IS”) to stabilize only the vertical axis.
- Start tracking early, press shutter mid-pan, follow through even after releasing.
- Try a slower shutter (1/125–1/250 sec) to blur wings and background while keeping the head sharp.
Composition, Backgrounds, and Color
- Background distance matters more than f/2.8 vs. f/5.6. Step to position the bird against far-away color.
- Aim for color contrast (white tern over blue sea) or tonal simplicity (dark silhouette at sunset).
- Shoot banks and turns for dynamic diagonals.
- Use negative space to emphasize speed and direction.
Gear That Makes BIF Easier
- Lenses: 100–400mm, 200–500mm, 150–600mm; fast primes for pros.
- Bodies: Look for deep buffers, fast readout EVFs, strong AF tracking, and customizable buttons.
- Support: Monopod or gimbal for long glass; sling strap for quick mobility.
- Accessories: Extra batteries, fast UHS-II or CFexpress cards, rain covers, microfiber cloths.
Mirrorless Settings for Birds: Fine Control
- Pre-capture/buffered shooting: grab frames before full shutter press on sudden takeoffs.
- Shot preview: Keep display responsiveness; avoid deep review between bursts.
- High-frequency flicker reduction: Useful under stadium or pier lights.
- Custom buttons: One for AF area toggle (wide ↔ small zone), one for exposure comp, one for subject tracking on/off.
Bird Behavior: Predict to Prepare
- Work with the wind: Birds take off and land into the wind—position yourself for face-on approaches.
- Tides and thermals: Shorebirds and raptors have predictable peak times; plan accordingly.
- Perch-to-perch patterns: After a few minutes, you’ll see repeat routes; prefocus near the transition zone.
- Calls and cues: Alarm calls often precede flight. Be ready.
Practice Drills to Boost Your Keeper Rate
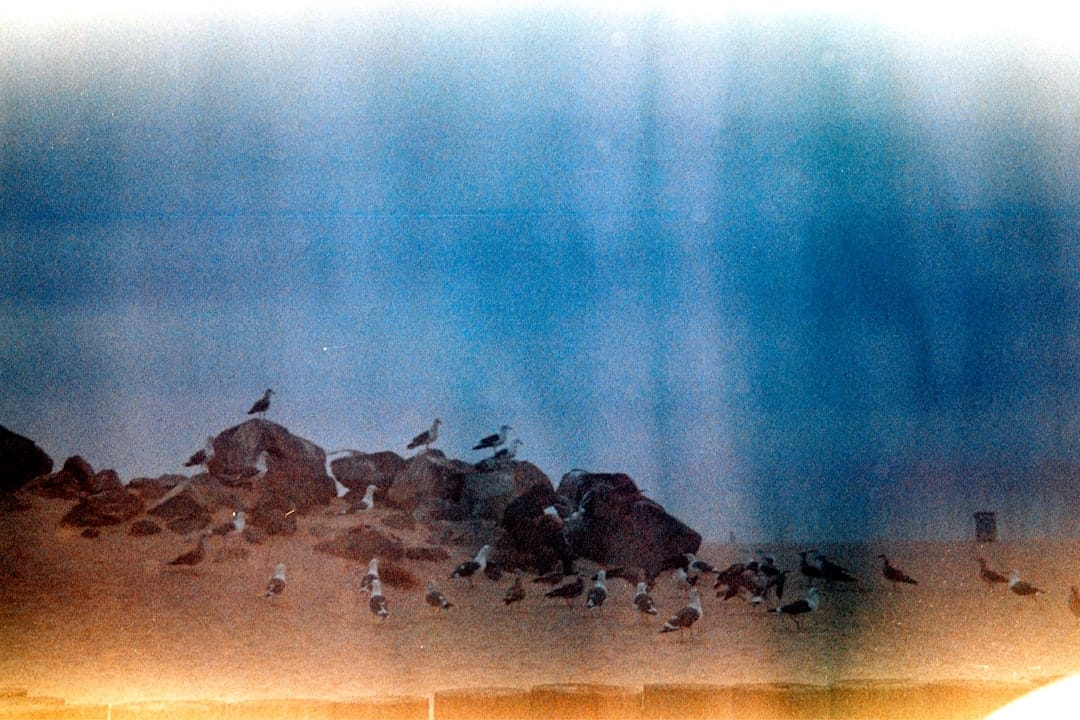
- Drill 1: “10 clean tracks” — follow a gull across the frame ten times without losing it.
- Drill 2: “Peak wing reps” — burst in short taps only at full wing extension.
- Drill 3: “Slow-shutter pans” — 1/125 sec on predictable flyers; aim for one sharp eye per sequence.
- Drill 4: “Exposure flip” — shoot against sky and treeline alternately, adjusting exposure comp on the fly.
Worldwide Birding Hotspots (Where to Practice and Feast Your Eyes)
- Coastal estuaries: Terns, skimmers, pelicans, shorebirds with predictable flight lines.
- Wetlands and marshes: Herons, egrets, cranes at dawn.
- Raptor viewpoints: Clifftops and ridgelines for soaring eagles and hawks.
- Urban waterfronts: Gulls and cormorants for steady practice close to home.
Planning a photography-forward wildlife day? See these practical on-the-ground guides:
- Field-tested framing ideas at Fossil Rim Wildlife Center Photo Tips
- Safari-style opportunities in Wildlife Safari Africa: The Ultimate Adventure
- Arizona practice and timing tips in Out of Africa Wildlife Park Tickets & Photo Guide
For additional planning and behavior insights, explore trusted resources:
- Field techniques from National Geographic: Bird Photography Tips
- Birding fundamentals at Audubon’s Birding 101
- Species behavior and ID at Cornell Lab: All About Birds
Post-Processing for BIF Impact
- Start with exposure and white balance; recover highlights on bright plumage.
- Use selective noise reduction on backgrounds; protect feather detail with gentle masking.
- Add micro-contrast and clarity only where needed (head and eye).
- Crop for direction and negative space; avoid over-cropping that reveals noise or soft detail.
- Sharpen last, at output size. A small, crisp catchlight can be the finishing touch.
Troubleshooting: Why Are My Photos Soft?
- Shutter too slow: Raise to 1/2500–1/3200 sec for fast wingbeats.
- AF area too small: Use a wider zone to acquire the subject, then refine.
- Background clutter: Move to get clear separation; AF locks more reliably.
- Shallow depth: Stop down to f/7.1–f/8 for better wing-to-eye sharpness.
- Technique fatigue: Lower lens weight or use a monopod to keep pans smooth.
- Buffer choking: Short bursts and faster cards keep you in the moment.
Weather, Light, and Safety
- Wind direction guides flight paths—use it to choose your position.
- Overcast = softer contrast and richer color; silhouette opportunities at sunset.
- Protect gear from salt spray and dust; keep a dry cloth handy for front-element droplets.
- Respect signs and boundaries—ethics first, always.
A Sample Field Workflow
- Scout: Note wind, light, and flight lanes.
- Pre-set: 1/2500 sec, f/7.1, Auto ISO; AF-C Animal detect; Zone AF.
- Test: Fire a few frames on passing birds, check histogram and sharpness.
- Shoot: Short bursts at peak action; adjust exposure comp with changing backgrounds.
- Review: Zoom on the eye; confirm catchlight and feather detail.
- Reset: Cards backed up; clean gear; notes for next session.
Conclusion
Birds in flight photography rewards patience, preparation, and practice. Lock down reliable settings, learn to read behavior, and let light and clean backgrounds do the heavy lifting. Over time, your keeper rate rises—and so does the thrill of capturing life on the wing.
If these tips helped, share this guide with a birder friend and start planning your next golden hour session. The sky’s alive—go meet it with your camera ready.
FAQ
What is the best shutter speed for birds in flight?
Start at 1/2500–1/3200 sec for small, fast birds and 1/1600–1/2000 sec for larger gliders. Increase ISO to keep shutter speed high rather than risking motion blur.
Which autofocus mode works best for BIF?
Use continuous AF (AF-C/AI Servo) with Bird/Animal detection and a wide/zone AF area. Back button focus helps maintain lock as you recompose.
What is the ideal lens for bird flight shots?
Versatile zooms like 100–400mm or 150–600mm are great for tracking and framing. Fast primes (300mm/400mm f/2.8) offer elite AF speed and subject isolation if you can manage the weight.
How do I expose birds against bright sky?
Use +0.3 to +1.0 EV exposure compensation to avoid underexposing the bird. Watch the histogram and highlight alerts, and adjust on the fly as backgrounds change.