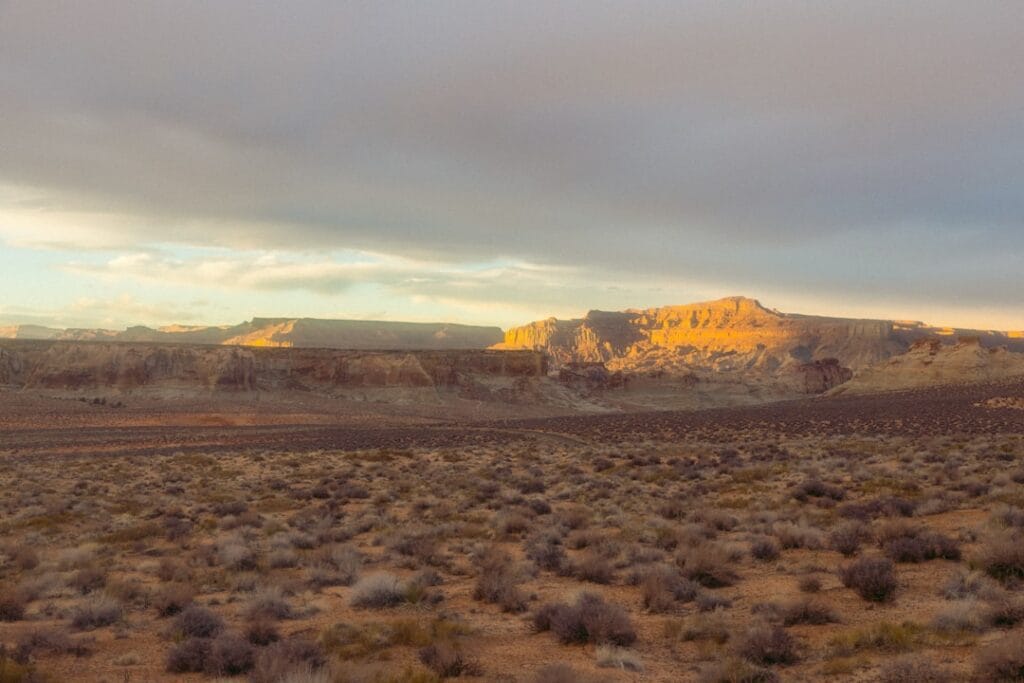
The Arizona desert photography dream can unravel fast: light is harsh, heat is brutal, and the wide-open spaces make even great subjects feel small in your frame. If you’ve ever blown out a saguaro at noon or watched heat haze wreck your sharpness, you’re not alone. With just a few smart choices, you can turn this demanding landscape into a career-defining canvas.
The desert doesn’t forgive sloppy planning—batteries drain faster in heat, dust finds every crevice, and light changes in minutes. You’ll face long drives between locations, limited shade, and sensitive Indigenous lands with strict rules.
Here’s the solve: a field-tested blueprint to capture Saguaro silhouettes, Sedona red rock glow, pin-sharp wildlife, and Milky Way arches—without cooking your gear or missing the shot. Use these 17 tips, location ideas, safety notes, and settings cheat sheets to build a reliable desert workflow.
Why the Sonoran Desert is hard—and how to beat it
- Light shifts quickly: plan for golden hour and blue hour; keep midday for scouting, abstracts, and canyon interiors.
- Heat and dust degrade gear and images: shade your camera, minimize lens swaps, and shoot longer focal lengths when heat shimmer is strong.
- Huge scale: use foreground anchors (cacti, rocks, dried yucca) to give depth, and stitch panoramas for the big skies.
The best time to photograph the Arizona desert
- Winter (Dec–Feb): mild temps, clean air, crisp sunrise color, best for long hikes and compressed vistas.
- Spring (Mar–Apr): wildflowers and cactus blooms; cooler mornings; watch for bees and thorns around cholla.
- Early Summer (May–Jun): dramatic side light; dry heat—start pre-dawn, finish by 9–10 a.m.
- Monsoon (Jul–Sep): electrifying skies, isolated storms, rain curtains; lightning and flash floods demand caution.
- Fall (Oct–Nov): steady color, thin crowds, great Milky Way windows earlier in the evening until late September.
17 epic Arizona desert photography tips
Chase low-angle light like a hawk
For Saguaro National Park photos, dawn gives you long shadows and glowing spines. Arrive 45–60 minutes before sunrise/sunset to scout foregrounds and test compositions.Use seasonality as your secret weapon
Plan bloom windows (saguaro flowers in late spring), monsoon drama in late afternoon, and clean winter air for telephoto landscapes. Build a seasonal shot list per location.Build a desert-ready kit (and carry it right)
- Body/lenses: weather-sealed if possible; 16–35, 24–70, 70–200, plus a fast prime (35/1.8 or 50/1.8).
- Filters: circular polarizer, 3-stop soft GND, 6–10 stop ND for clouds/water in slot canyons.
- Tripod: sturdy, easy-to-clean leg locks.
- Protection: rain cover, microfiber cloths, rocket blower, silica gel, spare batteries in shade.
For a complete packing workflow, see this Safari Packing List for Photographers.
Dust-proof your process
Change lenses inside your bag. Keep a zip bag for used cloths so grit doesn’t migrate. Clean the filter threads and lens mount before remounting. Store gear off the ground.Cactus photography settings that just work
- Single subject: 85–200 mm, f/4–f/5.6 for soft backgrounds, ISO 100–400, single-point AF on the nearest spine.
- Environmental cactus portraits: 24–35 mm, f/8–f/11, focus about one-third into the scene.
- Backlit spines: spot-meter highlights, -0.3 to -1 EV, or bracket ±2 EV. Use a lens hood even when backlighting.
Quick cheat sheet: - Golden hour cactus: 70–200 mm, f/5.6, 1/500, ISO 200.
- Blue hour silhouette: 24 mm, f/8, 1–4 s, ISO 100 with tripod.
- Macro detail: 90–105 mm macro, f/8–f/11, 1/125, ISO 400, watch for wind.
- Wildlife without the rush: Arizona wildlife photography
Look for cactus wrens, Gila woodpeckers, Harris’s hawks, roadrunners, and desert cottontails at dawn. Use a 300–600 mm equivalent and keep your vehicle as a blind when possible. Respect distance and never bait; patience yields natural behavior.
Subjects to love in the Sonoran Desert
You’ll find character-filled wildlife, textured cactus gardens, and glowing rock faces—often in a single vista. Use slow, lateral movement to ease closer without spooking birds.
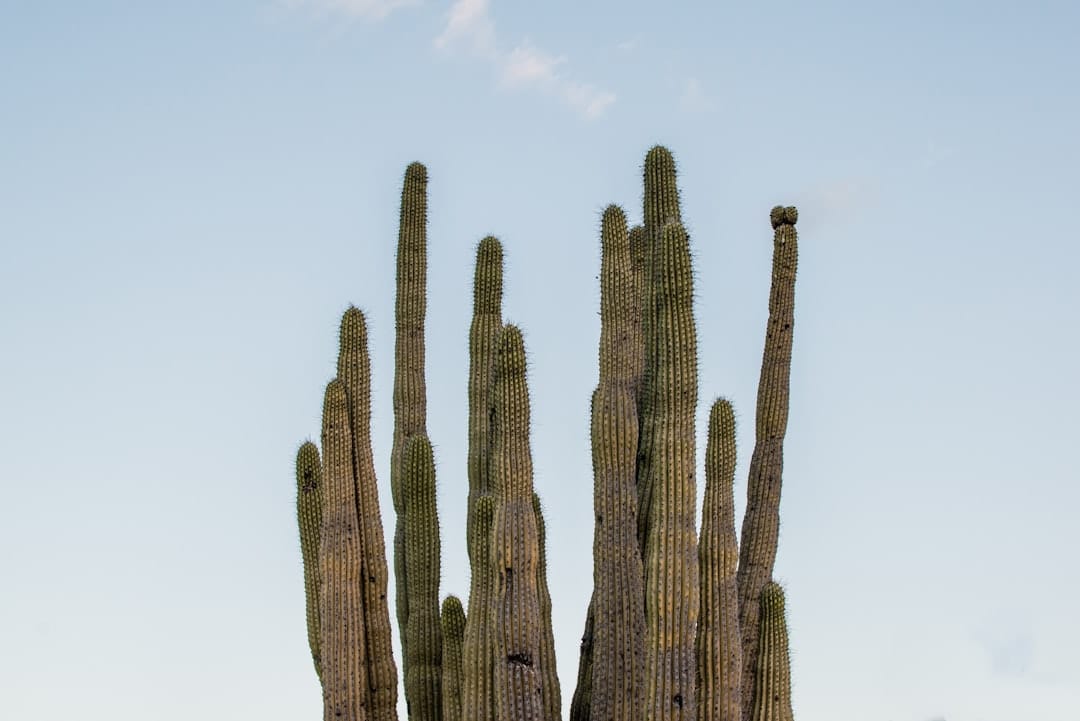
Want close-up practice without pressure? Plan a side trip to Out of Africa Wildlife Park (Camp Verde) for controlled conditions that sharpen your field technique.
Make big spaces read big
Anchor your foreground with cholla, ocotillo, or barrel cactus; lead the eye along washes and game trails; layer ridgelines for depth. A human figure or a car adds scale to Sedona desert landscapes and open basins.Work Sedona like a studio
Sedona’s red rock acts like a giant reflector. Scout east-facing scenes for sunrise and west-facing for sunset. After rain, hunt for puddle reflections. For location scouting and timing, use this guide to Sedona sunrise spots.Backlight is your best friend
Shoot into the sun to halo saguaro spines and lift dust. Use exposure compensation to protect highlights; let the midtones fall for a moody, graphic look.Antelope Canyon photo tips
Book with Navajo Nation–authorized guides only; tripods are often restricted on regular tours—confirm when booking. Midday light (roughly 10 a.m.–1 p.m.) brings the classic beams; cloudy days are gold for color saturation. Go wide (14–24 mm), expose for highlights, and bracket to protect glowing walls. Check conditions and access via Navajo Tribal Parks.Monument Valley sunrise photography
Sunrise silhouettes the Mittens cleanly; a 70–200 mm compresses buttes under pastel gradients. Dust can turn skies milky—arrive early and adjust white balance to ~5600–6000K for warmth. Much of the area is Navajo land—follow guide requirements and stay on designated routes.Filters that matter in the desert
- CPL: cuts glare on rock/foliage, deepens skies; rotate gently to avoid uneven polarization at ultra-wide angles.
- GND: balances bright skies without over-darkening mountains.
- ND: adds motion to clouds and monsoon curtains; lock down your tripod.
Beat heat shimmer with focal length discipline
At 200–400 mm, rising air distorts detail. Shoot telephoto landscapes early/late, from higher ground, and keep shutter speed up (1/500–1/1000) to freeze micro-wiggles. Stop down to f/8–f/11 for edge-to-edge crispness.Perfect panoramas for big skies
Level the tripod; shoot vertical frames with 40–60% overlap. Lock exposure and white balance across the sweep. If you plan foreground close to the lens, rotate around the lens’s entrance pupil to prevent parallax.Arizona night sky photography, simplified
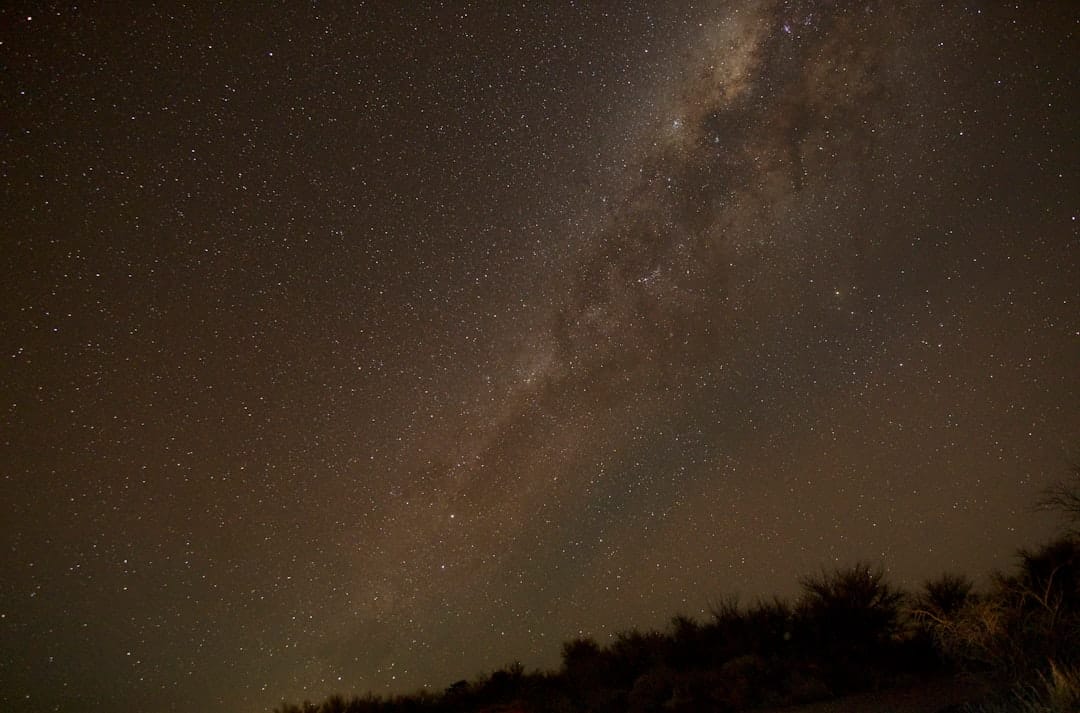
- Timing: Best Milky Way core visibility roughly March–September; new moon ±3 days.
- Settings start: 14–24 mm, f/1.8–f/2.8, 10–15 s (use NPF rule for precision), ISO 1600–6400. Manual focus on a bright star via live view.
- Light painting: keep it subtle and directional; gels can warm cactus foregrounds without blasting highlights.
Use official resources to find dark-sky areas and plan moon phases via DarkSky International.
- Top Southwest USA photo locations in Arizona
- Saguaro National Park (East & West) for classic silhouettes and saguaro forests. See access, hours, and seasonal info via NPS — Saguaro National Park.
- Sedona: Cathedral Rock, Courthouse Butte, Doe/Boynton Canyon loops.
- Superstition Mountains: Lost Dutchman State Park for golden hour ridges.
- Page area: Antelope Canyon, Horseshoe Bend (bring 14–24 mm and a mid-tele).
- Monument Valley: Tribal Park lookouts; consider a guided backcountry tour.
- Chiricahua National Monument: rhyolite “hoodoo” forests, fantastic for compressed tele.
- Petrified Forest National Park: pastel badlands, storm light, Route 66 relics.
- Organ Pipe Cactus National Monument: dense organ pipe stands, lonely skies.
- Desert safety for photographers (non-negotiable)
- Water: 1 liter per hour in heat; electrolyte mix for long hikes.
- Heat: start pre-dawn, siesta midday; avoid metal tripod locks in direct sun.
- Weather: watch monsoon cells; avoid slot canyons in any rain forecast.
- Wildlife: give rattlesnakes 6+ feet; carry tweezers for cactus spines; check shoes.
- Navigation: download offline maps; carry a paper map and a headlamp; tell someone your route.
- Ethics: stay on durable surfaces, don’t crush cryptobiotic soil, respect closures and tribal rules.
Quick settings for tough desert light
- High-contrast sunrise: bracket ±2 EV, base at ISO 100, f/8, 1/60–1/250.
- Windy cholla garden: 70–200 mm, f/5.6–f/8, 1/500–1/1000, ISO 200–800.
- Storm drama: CPL + GND, 24–70 mm, f/8, 1/125–1/500, ISO 100–400.
- Wildflowers macro: 90–105 mm, f/5.6–f/8, 1/250, ISO 400; use your body as a wind block.
Field workflow that saves shots
- Scout at noon; shoot at dawn/dusk.
- Pre-build two compositions per location: one wide, one tele.
- Meter for highlights; pull shadows in post to preserve glow.
- Tag GPS or note exact turnout/mile markers so you can return in the right light.
Responsible access and planning
- Check land designations: national parks, state parks, BLM, and tribal lands have different rules.
- Permits: some areas (e.g., Antelope Canyon, Monument Valley backcountry) require guided access; drones often restricted.
- Leave No Trace: pack out everything; avoid stepping on desert crust; don’t handle wildlife.
For statewide trip ideas, lodging, and seasonal events, browse the official Visit Arizona.
Sample 2-day Arizona desert photography plan
Day 1 (Tucson / Saguaro NP):
- Pre-dawn: Saguaro NP West for silhouettes and long shadows.
- Midday: Tucson Mountain Park abstracts; macro cactus textures.
- Sunset: Saguaro NP East for backlit spines and ridges.
Day 2 (Sedona / Red Rock Country):
- Sunrise: Cathedral Rock reflection; then shaded canyon walls for detail.
- Midday: Scout Airport Mesa, Soldier Pass.
- Sunset: Courthouse Butte; twilight blue hour pano.
- Night: Drive to a dark-sky pullout; shoot Milky Way with saguaro or juniper foreground.
Post-processing notes to keep it natural
- White balance: desert light skews warm—tame oranges, preserve cactus greens.
- HSL: reduce yellow/orange luminance slightly to recover rock texture; increase blue saturation sparingly.
- Dehaze selectively to counter heat haze—avoid turning skies cyan.
- Sharpening: mask edges to avoid crispy sand and noise.
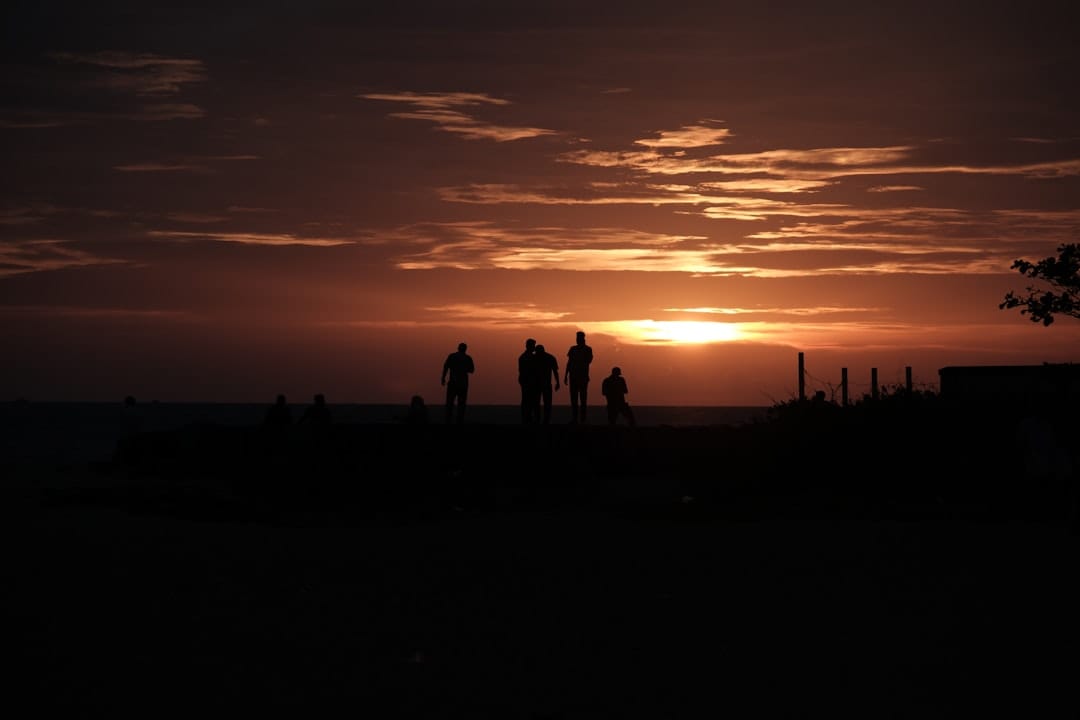
The Arizona desert rewards patience with luminous skies, sculpted rock, and wildlife full of personality. Plan for light and safety, pack smart, and use foregrounds to tame the vastness. Share your favorite Sonoran frame or ask a settings question—I’d love to help fine-tune your next shoot.
FAQ
What month is best for Arizona desert photography?
March–April for blooms and mild temps; July–September for monsoon drama (with safety caveats); December–February for crisp telephoto vistas and comfortable hikes.
What lenses should I bring for Saguaro National Park photos?
A wide zoom (16–35 mm) for silhouettes and big skies, a mid-zoom (24–70 mm) for flexible framing, and a telephoto (70–200 mm or longer) for wildlife and compressed ridgelines.
Do I need a tripod for Antelope Canyon?
Tripods are often restricted on standard tours; some tours may allow them, subject to current rules. Confirm with your authorized operator and check Navajo Tribal Parks before you book.
How do I avoid heat haze in telephoto shots?
Shoot early or late from higher vantage points, keep shutter speeds at 1/500–1/1000, and stop down to f/8–f/11. If shimmer is visible, switch to a wider lens or wait for cooler air.