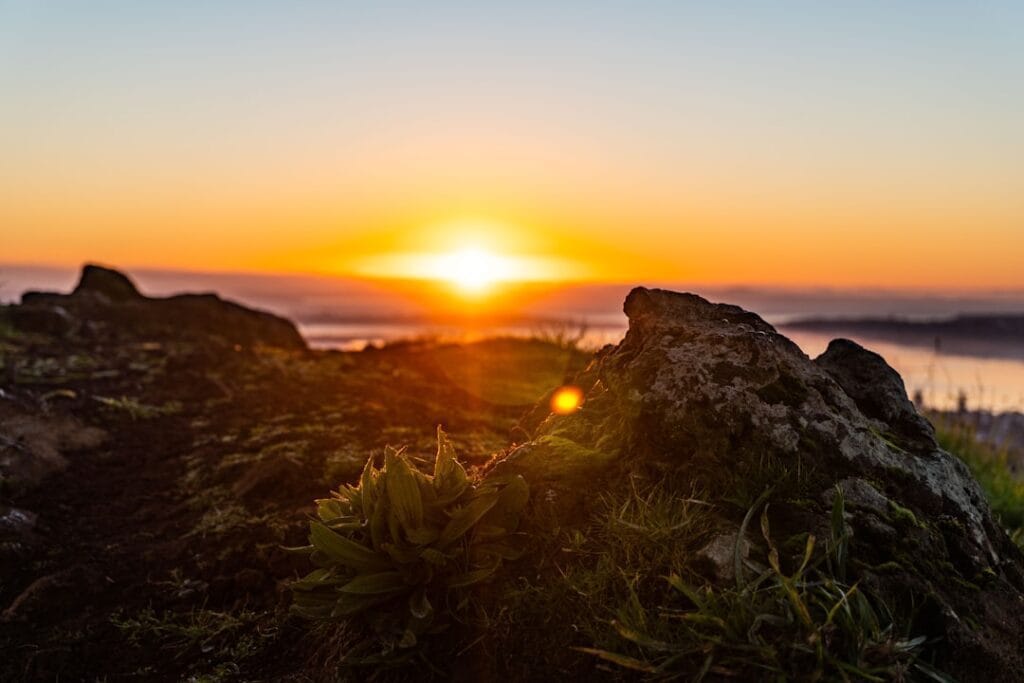
Golden hour in Sedona isn’t just pretty—it’s transformational. If you’ve ever arrived late, fought crowds, and watched flat midday light wash out the red rocks, you know the pain. The solution? Dial in the perfect sedona sunrise spots so you hit the first light when colors glow, wildlife stirs, and wind is calm for tack-sharp frames.
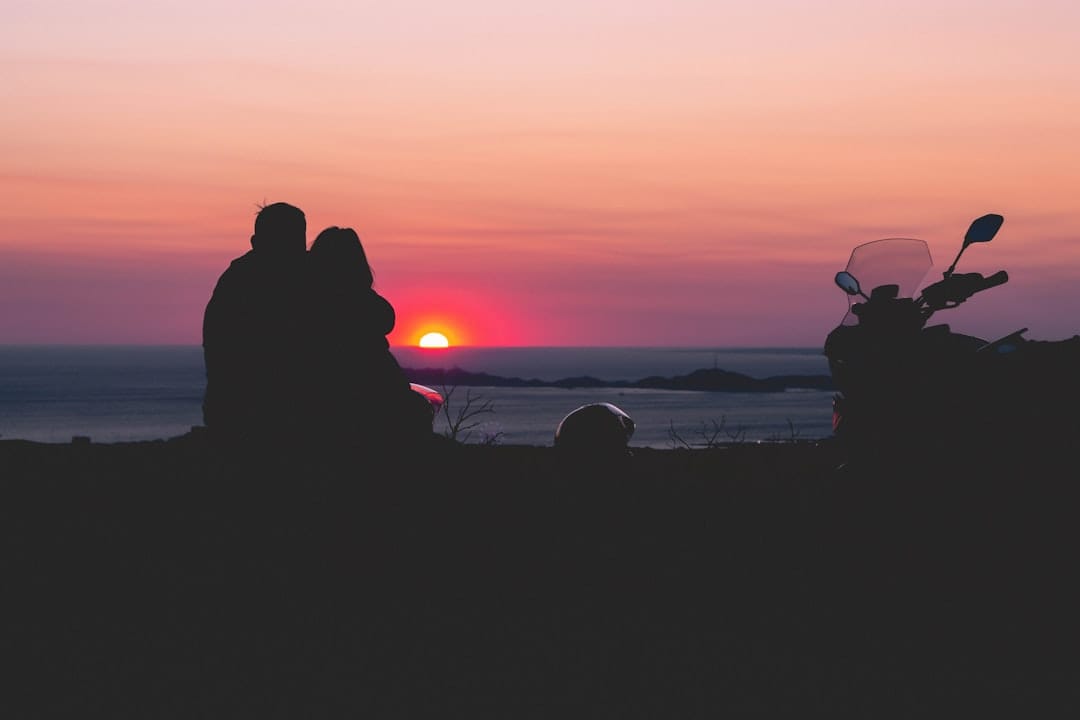
Here’s your field-tested, photography-first sedona photo guide to the best sunrise in Sedona—from Cathedral Rock to Doe Mountain—plus practical trail notes, lenses to pack, sunrise photography tips Sedona locals swear by, and ethical wildlife pointers. Whether you’re chasing a cathedral rock sunrise reflection or an airport mesa sunrise panorama over town lights, this is the plan that gets you the shot.
Quick list: 11 best Sedona sunrise spots
- Cathedral Rock Saddle (classic sculpted spires, side light)
- Red Rock Crossing at Crescent Moon (Cathedral reflection)
- Airport Mesa Scenic Overlook (city lights + blue hour, easy access)
- Devil’s Bridge (iconic arch, warm wraparound light)
- Bell Rock and Courthouse Vista (easy access, leading lines)
- Doe Mountain (elevated mesa rim, sweeping skyline)
- Merry-Go-Round Rock (Schnebly Hill sunrise drama)
- Schnebly Hill Vista (big east-facing walls)
- Sugarloaf Summit (360° central view, short hike)
- Yavapai Vista Point (Cathedral and Courthouse layers)
- Brins Mesa via Jordan Trail (Coffee Pot Rock at first light)
How to plan the best sunrise in Sedona
- Light and season: Winter sun rises farther south, bathing Cathedral and Courthouse in direct side light. Summer brings earlier, higher sun; aim for blue hour and civil twilight for mood.
- Wind and weather: Mornings are calmer; check gusts the night before. After storms, expect vivid skies and cleaner air.
- Passes and parking: Many trailheads require a Red Rock Pass or Interagency (America the Beautiful) pass. Verify current rules with the Coconino National Forest.
- Safety first: Start with a headlamp, grippy shoes, 1–2 L water, and offline maps. Rocks are slick with frost or clay mud.
Essential sunrise photography tips Sedona
- Arrive 45–60 minutes before sunrise for blue hour silhouettes, star glow, and first alpenglow.
- Lenses: 16–35mm for sweeping layers; 24–70mm for flexibility; 70–200mm to compress buttes and catch wildlife.
- Exposure strategy: Shoot bracketed RAW (+/– 2 EV) for high dynamic range skies; blend later.
- Color workflow: Set a warm white balance (around 5600–6500K); adjust for reds without oversaturating.
- Composition: Use junipers, agaves, or slickrock cracks as foreground lines. Step low to emphasize texture.
- Crowd hacks: Shoot the hero angle first, then experiment with long lenses and details as crowds arrive.
The 11 epic sunrise photo locations
- Cathedral Rock Saddle (Cathedral Rock sunrise)
- Why it’s stellar: Side light sculpts the spires; shadows add depth. In winter, the sun rises perfectly to kiss the saddle.
- Trail: 1.2 miles RT, steep Class 2/3 scrambles, waypoints marked by basket cairns. Start 75–90 minutes pre-dawn.
- Photo cues: Shoot east with the first light on the fins; turn west as the sky catches pastel afterglow.
- Wildlife: Listen for canyon wrens; mule deer browse in the piñon-juniper below. Keep distance and use longer glass.
- Pro tip: Gloves with grip help on the slick scramble. Pack a ultra-light tripod; the rock “shelves” are limited.
- Red Rock Crossing at Crescent Moon (Cathedral reflection)
- Why it’s stellar: Mirror-like reflections of Cathedral Rock in Oak Creek during calm mornings.
- Access: Crescent Moon Day Use Area; arrive early as gates open pre-sunrise seasonally. Red Rock Pass/interagency accepted at most fee sites—confirm onsite signage.
- Photo cues: Reflections are best in low water and low wind. Use polarizer sparingly to keep the reflection intact.
- Bonus: Long exposures (1–2 sec) smooth ripples for painterly reflections.
- Airport Mesa Scenic Overlook (airport mesa sunrise)
- Why it’s stellar: Elevated view over Sedona with town lights glowing at blue hour. Zero hiking if you use the pay lot near the overlook.
- Logistics: Tiny lot; bring cash for the overlook fee. Airport Loop trailhead has more parking but requires a short walk.
- Photo cues: Frame the illuminated town against the red rock skyline; shoot a blended exposure to balance highlights.
- Pro tip: Arrive 60 minutes early to catch the cobalt sky; as light rises, switch to telephoto to compress layers.
- Devil’s Bridge (devils bridge sunrise)
- Why it’s stellar: The arch glows warm at first light and the canyon behind it fills with soft gradient color.
- Trails: From Mescal Trailhead (~4.2 miles RT) or Dry Creek TH (~4 miles RT). The 4×4 road is rough; don’t rely on rides.
- Photo cues: Shoot side-on with a person on the arch for scale; or get low at the base with the arch framing the pastel sky.
- Crowd hack: Sunrise is the best window to avoid long queues. Be courteous—limit time on the arch for others.
- Bell Rock and Courthouse Vista (bell rock sunrise)
- Why it’s stellar: Easy access and classic red-rock amphitheater feel. Early light warms Bell’s stepped layers.
- Trails: Bell Rock Pathway is easy; short scrambles lead to higher perches. Great for beginners.
- Photo cues: Use yucca, agave, and sandstone ribs as leading lines. Telephoto compresses Bell and Courthouse Butte beautifully.
- Doe Mountain (doe mountain sunrise)
- Why it’s stellar: A fast mesa-top climb to a broad rim with 360° views—ideal for panos and timelapse.
- Trail: ~1.5 miles RT, moderate switchbacks. The flat top lets you roam for unique foregrounds.
- Photo cues: Scout the rim on arrival and pick a leading line of fissures or cacti. Wind can be stronger up top—stabilize tripod.
- Merry-Go-Round Rock (merry go round rock sunrise)
- Why it’s stellar: High drama cliffs and sweeping canyons, with early sun igniting Schnebly’s sandstone tiers.
- Access: Schnebly Hill Road (high-clearance 4×4 recommended). Alternatively, book a sunrise tour with Pink Jeep-style operators.
- Photo cues: Strong side light carves textures; bracket exposures. Great for couples’ silhouettes on the ledges.
- Safety: Sheer drop-offs—mind footing and gusts.
- Schnebly Hill Vista (schnebly hill sunrise)
- Why it’s stellar: Classic “big-wall” Sedona scene with east-facing exposure for first light.
- Logistics: Same road considerations as above; allow extra time for a slow, bumpy drive.
- Photo cues: Layer multiple buttes with a 70–200mm; haze can add atmospheric depth.
- Sugarloaf Summit
- Why it’s stellar: Short, central climb with 360° views, fewer crowds than Airport and Bell.
- Trail: ~1.8 miles RT via Teacup/Sugarloaf. Good for a backup when primary lots fill.
- Photo cues: Wide-angle near the summit cairn; then rotate for multiple compositions as light evolves.
- Yavapai Vista Point
- Why it’s stellar: Low-effort, high-reward panorama toward Cathedral and Courthouse. Perfect for a second stop after sunrise.
- Logistics: Easy parking off 179; family-friendly path.
- Photo cues: Foreground juniper trunks create natural frames. Great place for graduated ND filters.
- Brins Mesa via Jordan Trail
- Why it’s stellar: Elevated view over Uptown to Coffee Pot Rock and beyond; morning side light outlines the ridgelines.
- Trail: 4–5 miles RT depending on turnarounds. Start early; trail is open and sun-exposed.
- Photo cues: Bring the 70–200mm to stack ridge layers and catch morning mist after storms.
Wildlife notes and ethics
- Common sightings: Mule deer at dawn, coyotes crossing washes, javelina in low shrub, ravens and red-tailed hawks riding thermals.
- Keep distance: Use 200–400mm glass; never feed wildlife. Store food securely and pack out trash.
- Timing: Wildlife activity peaks at blue hour and shortly after sunrise.
Sedona sunrise gear checklist (quick)
- Camera + spare batteries (cold mornings drain faster)
- 16–35mm, 24–70mm, 70–200mm; circular polarizer; 3-stop soft GND
- Lightweight, stable tripod + remote release
- Headlamp with red mode; microspikes in winter; gloves with grip
- 1–2 L water; wind layer; small first-aid kit; offline GPS map
Two sunrise-packed mornings (fast itinerary)
- Day 1: Airport Mesa blue hour → Cathedral Rock Saddle first light → Red Rock Crossing reflection as wind calms.
- Day 2: Doe Mountain rim glow → Devil’s Bridge side light → Bell Rock detail studies and telephoto compressions.
Practicalities: passes, safety, trail stewardship
- Passes: Many day-use areas require a Red Rock Pass; interagency passes are often honored at Red Rock Country sites. Always check the latest guidance on the Coconino National Forest site.
- Road conditions: Schnebly Hill Road changes with weather; high-clearance 4×4 recommended. Avoid after heavy rain.
- Leave No Trace: Stay on durable slickrock or established trails, don’t trample cryptobiotic soil, and pack out every wrapper. Brush up on the 7 Principles.
- Safety: Cell coverage is spotty. Tell someone your plan and return time.
Photography techniques that work in Sedona’s red rock sunrise locations
- Control glare: Use a polarizer sparingly; over-polarizing can blotchy the sky and kill reflections.
- Master dynamic range: Blue hour + gold hour blend is often stronger than a single shot. Bracket and blend, or use a 3-stop soft GND at the horizon.
- Composition variety: Shoot one wide establishing frame, one telephoto compression, and one intimate detail (texture, plant, shadow).
- People as scale: A single hiker on a ledge gives context without dominating the scene.
- Wildlife moments: Switch to silent shutter and higher shutter speeds (1/1000s+) when animals appear.
Responsible sunrise timing by season
- Winter (Dec–Feb): Later sunrise, colder temps, cleaner air. Best for cathedral rock sunrise side light and low crowds.
- Spring (Mar–May): Wildflowers and dynamic clouds; earliest wildlife action.
- Summer (Jun–Aug): Earlier sunrise, monsoon clouds—epic after storms. Hydrate and start super early.
- Fall (Sep–Nov): Crisp mornings, stable weather, golden cottonwoods along Oak Creek.
Extend your Arizona wildlife and photo adventures
- Pair your Sedona trip with a day at Camp Verde’s wildlife park—use this Out of Africa Wildlife Park guide and the detailed tickets + photo tips.
- Packing for mixed landscape and wildlife shoots? Check the pro-built safari packing list for photographers.
More resources and trusted references
- Local planning hub: Visit Sedona
- Land management, passes, trail updates: Coconino National Forest
- Visual storytelling skills: National Geographic photography
What makes these sedona photography spots special
- Geological drama: Layered sandstone catches side light better than flat desert—shadows become sculptors.
- Accessible variety: From drive-up overlooks to short-but-steep scrambles, you can stack multiple shots each morning.
- Wildlife overlap: Dawn intersects with daily animal routines; keep your tele handy for respectful frames.
After your shoot: breakfast and backups
- Offload and back up immediately (SSD + cloud). Note GPS coordinates and settings while fresh.
- Warm up in town, then scout afternoon angles to prep for sunset—you’ll thank yourself tomorrow.
The bottom line
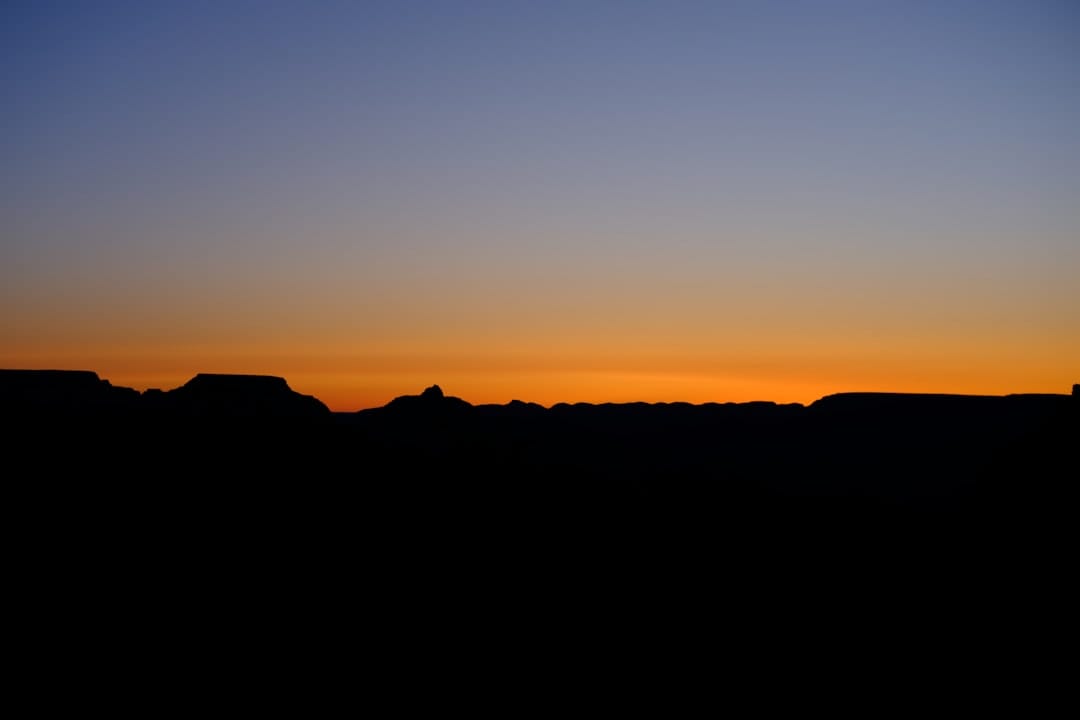
Sedona rewards the early riser. Pick a couple of locations near each other, arrive in blue hour, and let the light guide your lens—from sweeping red rock sunrise locations to intimate details in sandstone ripples. Share this guide with your photo crew and tag your next epic morning. The magic is real at first light.
FAQ
What time should I arrive for a Sedona sunrise shoot?
Get to the trailhead 60–90 minutes before sunrise. That covers parking, hiking, and blue hour setup.
Do I need a Red Rock Pass for sunrise?
Many day-use areas require it, but interagency passes are often honored. Always verify onsite signage or check the Coconino National Forest website before you go.
Which lens is best for Sedona sunrise photos?
A 16–35mm for grande vistas, 24–70mm for flexibility, and a 70–200mm to compress buttes and capture wildlife. If carrying one, choose the 24–70mm.
Where can I photograph wildlife near Sedona?
Dawn along Oak Creek and quieter mesas like Doe Mountain are good bets. For a dedicated wildlife day, see this Out of Africa Wildlife Park tickets + photo guide or brush up on birding skills with bird photography for beginners.