You booked the dream trip, but the difference between “I got the shot” and “I almost had it” comes down to preparation. A safari packing list photographers often overlook isn’t just cameras and big glass—it’s the small, field-proven items that protect gear from dust, stabilize in bumpy vehicles, and keep batteries and backups alive in remote camps.
On African safaris in Kenya, Tanzania, and Botswana, you’ll face fast action, harsh light, and fine dust that gets everywhere. Forget one key item, and the golden hour can turn into a missed moment—or worse, a dead battery with lions on a kill.
This guide solves that. Below you’ll find a photography safari gear checklist, best lenses for safari photography, dust and power strategies, and a carry-on plan that survives bush-flight limits. Whether you’re a first-timer or upgrading your kit, use this to build a calm, confident field workflow—and come home with card after card of sharp, memorable images.
The 21 Ultimate Essentials (Quick Checklist)
Use this as your core wildlife photography equipment safari list. Adjust to your brand, focal length needs, and airline limits.
- Two camera bodies (primary + backup)
- One rigged to your long lens, the other to a shorter zoom.
- Avoid lens swaps in dust; dual bodies save shots and sensors.
- Long telephoto zoom (100–400mm, 200–500mm, or 150–600mm)
- The workhorse for most big game. Zoom flexibility > prime reach for many.
- Excellent options: 100–400/4.5–5.6, 200–500/5.6, 150–600/5–6.3.
- 70–200mm f/2.8 (or 70–180/2.8) + 1.4x teleconverter
- Fast glass for dawn/dusk, portraits, and environmental wildlife.
- Teleconverter extends reach without switching to a super-tele.
- Wide or standard zoom (16–35mm/14–30mm or 24–70mm)
- For landscapes, storytelling, camp life, and night skies.
- Teleconverter (1.4x; 2x if your lens supports it)
- Lightweight reach boost; stop down 1 stop for best sharpness.
- Vehicle support: bean bag/window pod
- Most safari photography happens from vehicles. A filled bean bag stabilizes better than a tripod in most scenarios.
- Compact support: monopod or clamp with mini-gimbal (optional)
- Useful in open vehicles or hides. Prioritize a bean bag first.
- Batteries (3–6 per body) + dual charger
- Cold mornings and burst shooting drain cells fast. A dual charger halves camp charging time.
- High-speed, high-capacity memory cards
- CFexpress/SD UHS-II V90. Carry 3–6 cards per body.
- Use hard card cases with clear labeling for full/empty.
- Rugged SSDs (2x) for backups
- 1–2TB each, shock-resistant. Back up daily to two drives.
- Laptop or tablet for culling and backup
- Photo Mechanic, Lightroom, or ON1. Even a lightweight tablet with USB-C hub works.
- Rain/dust covers for cameras and lenses
- ThinkTank/Hydrophobia-style or simple sleeve covers. Keep mounted in dusty drives.
- Dry bags or roll-top sacks + silica gel
- Store bodies/lenses overnight; add silica to fight humidity and condensation.
- Cleaning kit
- Rocket blower, lens pen, soft brush, microfiber cloths, pre-moistened wipes. Sensor swabs only if confident.
- Power strategy: PD power bank (60–100W), travel adapters, multi-outlet
- Kenya/Tanzania/Botswana use Type G/D/M in many lodges; bring a compact strip.
- Camera bag that fits the vehicle
- Soft-sided backpack or messenger that sits on your lap/seat. Avoid hard shells that clatter and hog space.
- Safari clothing for photographers
- Neutral, breathable, long-sleeve shirts; convertible pants; light fleece; packable rain shell.
- Footwear and socks
- Lightweight boots or sturdy trail shoes, merino socks, optional short gaiters for dust.
- Sun and insect defense
- Wide-brim hat, buff, polarized sunglasses, reef-safe sunscreen, DEET or picaridin repellent.
- Binoculars (8x or 10x)
- Find subjects faster, compose before lifting the camera.
- Travel admin and safety
- Travel insurance, permits, vaccination docs, passport copies, headlamp with red mode, compact first-aid.
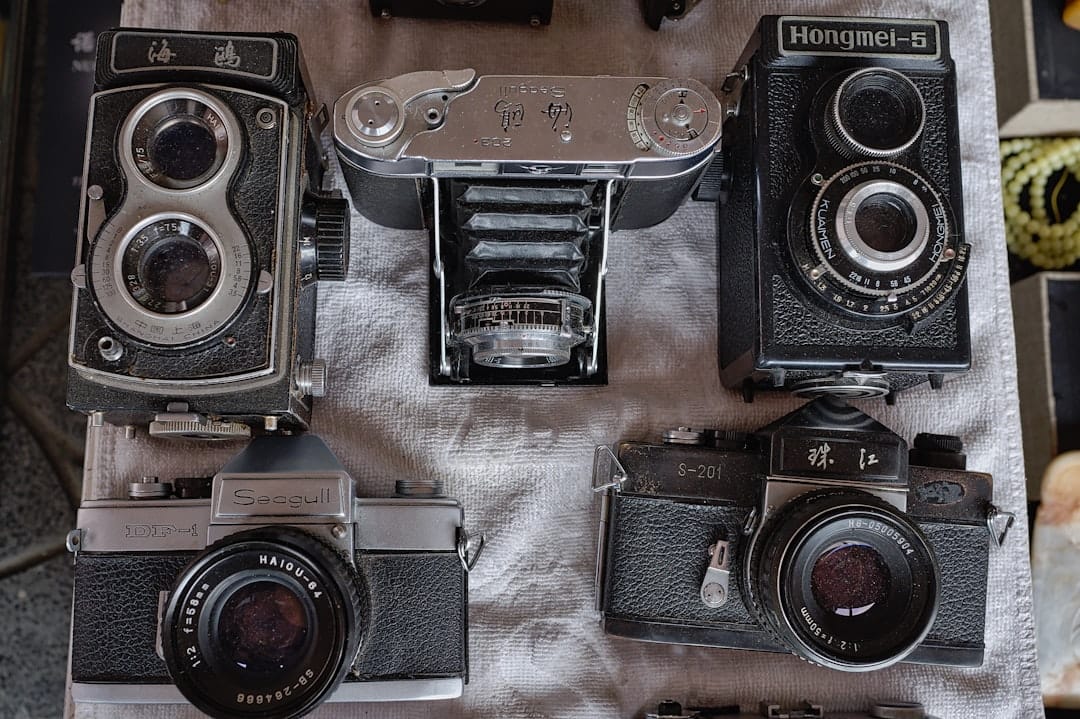
Best Lenses for Safari Photography (How to Choose)
- If you bring one long lens: pick a 100–400, 200–500, or 150–600. Zoom flexibility shines for moving subjects, mixed distances, and framing around branches.
- For low light: a 70–200 f/2.8 is gold at dawn/dusk and in overcast. Add a 1.4x to extend to 280mm.
- Prime vs zoom: primes (400/2.8, 500/4, 600/4) offer speed and sharpness, but weight, size, and airline limits are real. If you don’t know your typical working distance, start with a zoom.
- Crop vs full-frame: APS-C bodies effectively add reach (1.5x/1.6x), helpful with 100–400. Full-frame wins at high ISO and dynamic range.
- Macro? Optional. Great for lodge insects, flowers, and details; not essential.
Pro settings baseline:
- Shutter: 1/1600s for birds/fast mammals; 1/800s for larger, slower subjects.
- Aperture: f/5.6–f/8 for depth on eyes/nose; open to f/2.8–f/4 in low light.
- ISO: Auto ISO with upper limit you trust; min shutter engaged.
- AF: Continuous/AI-Servo; subject detection if available; use back-button focus.
Carry-On Camera Packing for Safari (And Bush Flight Rules)
Regional bush flights in East Africa and Botswana often cap luggage at 15 kg/33 lb total in soft duffels. Camera gear should ride with you, but some carriers weigh carry-ons at the strip. Plan accordingly.
Carry-on strategy:
- Put camera bodies and lenses in a compact backpack that looks modest.
- Wear your heaviest lens on a cross-body strap or under a photo vest if check-in scales appear.
- Use a soft duffel for clothing and non-breakables; keep it within bush flight size guidance.
- Ask your operator in advance about a camera gear allowance; policies vary by aircraft and route.
- Distribute: Keep one body + a small lens on your person; the rest in your backpack.
Smart packing order:
- Mount the long lens on your primary body before you leave camp.
- Second body gets the 70–200 or 24–70.
- Card wallet, blower, and a microfiber in your pocket for fast access.
- Bean bag empty; fill with rice/beans at camp or use a lightweight fill (poly pellets).
Dust, Rain, and Power: Make-or-Break Field Tactics
Dust protection for cameras safari:
- Keep one lens per body and avoid swapping in the field. If you must, power off, face the mount down, and shield with your jacket.
- Use rain/dust covers during drives; zip cameras into dry bags in camp.
- Night routine: blower > brush > wipe; park gear with silica gel in a closed bag.
Power management:
- Charge during lunch and overnight. A dual charger + PD power bank covers outages.
- Use a compact power strip with universal sockets; bring plug adapters for each country.
- Label each battery; cycle them in order so none stay uncharged for days.
Data security (3–2–1 in the bush):
- Three copies: cards stay full until you leave; back up nightly to two SSDs.
- Two different drives: keep them in separate bags/tents.
- One off-person: carry one SSD on you during transfers.
Safari Clothing for Photographers: Comfort That Captures
Choosing safari clothing for photographers is about staying invisible, comfortable, and mobile.
- Colors: earth tones (olive, tan, brown, gray). Avoid bright white, fluorescent colors, and military camo patterns (restricted or illegal in several countries).
- Fabrics: lightweight, quick-dry synthetics or merino. Long sleeves and pants prevent sun and scratches.
- Layers: breathable shirt, convertible pants, thin fleece, packable waterproof shell.
- Tsetse fly zones: avoid blue/black, which attract them in some parks. Neutral colors help.
- Accessories: wide-brim hat, buff for dust, polarized sunglasses, thin liner gloves for cold mornings.
Footwear:
- Lightweight boots or supportive trail shoes with good grip.
- Merino socks; bring blister tape. Short gaiters help keep out dust and seeds.
Your Daily Vehicle Workflow (For Sharper, Faster Shots)
- Pre-drive check: clean front elements, set clocks, reset counters, format cards you’ve backed up.
- Baseline settings:
- AF-C/AI-Servo, subject detection on animals/birds.
- Aperture priority or Manual + Auto ISO; min shutter 1/800–1/1600.
- Drive mode high; RAW capture.
- In-vehicle setup:
- Bean bag on the rail. Strap around your wrist; lens hood on to control flare.
- Turn off vehicle engine when safe for sharpness; ask your guide when you can request stops.
- Compositional rhythm:
- Start with the eye in tack-sharp focus.
- Shoot a safe frame; then refine angle, background, and story.
- Anticipate: yawns, stretches, and cub interactions happen in cycles.
What to Pack for African Safari Photography: Two-Bag System
Daypack (with you in the vehicle):
- Long tele zoom + body
- 70–200/2.8 + second body
- 24–70 or 16–35
- Card wallet, batteries, blower, cloths
- Rain/dust covers, SSDs, laptop/tablet
- PD power bank, headlamp, hat, sunscreen, repellent, light snacks
Soft duffel (checked/bush hold):
- Clothing and layers
- Empty bean bag; fill at camp
- Dry bags, silica gel
- First-aid kit, toiletries
- Extra chargers, adapters, multi-outlet
- Spare shoes/socks
Field-Proven Pro Tips
- Shoot eye-level when possible. Ask your guide to angle the vehicle on slopes for lower perspectives.
- Back-button focus reduces hunting when branches pass in front of subjects.
- Expose for highlights in harsh midday light; pull up shadows later.
- Don’t chase only the big five. Birds in flight, backlit dust, and small behaviors often make your favorite frames.
- Log locations and behavior notes; captions are easier when you get home.
Practice Before You Fly
Hone your timing and settings at accessible parks and wildlife centers:
- Fossil Rim Wildlife Center Photo Tips
- Ontario Wildlife Photography Guide
- African Lion Safari Ontario: Photography Guide
Trusted Resources and Further Reading
- Animal behavior and ethical shooting basics: National Geographic Photography
- Park planning and conservation updates: Tanzania National Parks – Serengeti
- Packing and travel intel: Travel + Leisure Safari Guide
Troubleshooting: Common Pain Points (And Fixes)
- Missed focus through branches: use a smaller AF area or single-point; recompose once focus locks on the eye.
- Heat shimmer at long distances: shoot earlier/later, shorten focal length slightly, or move with your guide for a different angle.
- Battery anxiety: turn off image review, reduce EVF brightness, and keep spares warm in a pocket on cold mornings.
- Dust on sensor mid-trip: use a rocket blower first; only wet-clean if you’ve practiced. Otherwise, keep shooting and plan to clean at a service center after.
Ethics and Safety
- Stay in the vehicle unless your guide says otherwise. Respect distances—long lenses are the ethical way to get close.
- Keep noise down; limit rapid repositioning that stresses animals.
- Tip your guide well for exceptional positioning and patience; they’re your best collaborator.
Conclusion
Pack lean, protect from dust, and build a backup routine you can do half-asleep. With the right camera gear for safari, smart clothing layers, and a rock-solid power plan, you’ll be free to focus on light, behavior, and story—the things that make images sing. If this helped, share it with a travel partner and start rehearsing your daily workflow before you board.
FAQ
What is the minimum camera kit I should bring?
Two bodies, a long zoom (100–400/200–500/150–600), a 70–200/2.8 or 24–70, 3–6 batteries per body, high-speed cards, a bean bag, rain/dust covers, and two SSD backups. That setup covers 90% of scenarios.
Are tripods useful on safari?
Rarely in vehicles. A bean bag or window pod is faster and steadier. Tripods shine for camp landscapes, night skies, and hides; bring a compact travel model only if you’ll use it.
What colors should I wear on safari?
Earth tones: olive, tan, gray, brown. Avoid bright colors, white, and military camouflage (restricted in some countries). In tsetse areas, avoid blue/black.
How do I handle bush-flight weight limits with heavy gear?
Keep cameras and lenses in a small carry-on, wear your heaviest lens if weighed, use a soft duffel for clothing, and ask your operator about a camera allowance. Distribute gear so delicate items never leave your side.