If you’re wrestling with settings, missed focus, or birds that always seem too far away, you’re not alone. Bird photography for beginners can feel overwhelming—especially when you’re trying to balance gear, light, and a subject that rarely sits still. At Bosque del Apache National Wildlife Refuge in New Mexico, the learning curve meets magic: thousands of sandhill cranes and snow geese, glowing dawn light, and forgiving distances give you a real chance to level up fast.
The frustration? Blurry wings, blown highlights, and noisy files. The stakes feel high when that perfect lift-off unfolds in seconds. The solution is a simple, repeatable approach paired with a place designed by nature for success. This guide distills 15 essential, field-tested tips—covering beginner bird photography tips, bird photography settings, shutter speed for birds in flight, and a streamlined bird photography gear list—so you can come home with images you’re proud to share.
Why Bosque del Apache is the perfect classroom
Bosque del Apache sits along the Rio Grande flyway near Socorro, New Mexico. In late fall through winter, the refuge hosts epic arrivals of sandhill cranes and snow geese, plus raptors, waterfowl, and waders. The auto tour loops, wide-open vistas, and roosting pools create reliable, beautiful setups for wildlife photography for beginners.
- Best seasons: November–January for mass crane and snow goose action; spring/fall for migration variety.
- Best times: Golden hour at sunrise for “blast-off” scenes and sunset for cranes returning to roost.
- Where to shoot: Crane Pools at dawn/dusk, the Flight Deck, and the North/South Auto Loops for close passes and portraits.
Before you go, verify seasonal access, hours, and conditions on the U.S. Fish & Wildlife Service: Bosque del Apache. For regional travel planning, also see New Mexico True – Bosque del Apache.
Quick-start camera settings (pin this)
Want a reliable baseline for ISO and aperture for bird shots and bird in flight photography? Start here and refine on-site:
- Perched birds (good light): Aperture Priority, f/5.6–f/7.1, Auto ISO capped at 3200, minimum shutter 1/1000 sec, exposure compensation +0.3 for bright backgrounds.
- Cranes/geese in flight: Manual or Shutter Priority, 1/2000–1/3200 sec, f/5.6–f/8, Auto ISO up to 6400, Continuous AF (AF‑C/AI Servo), Wide/Zone AF.
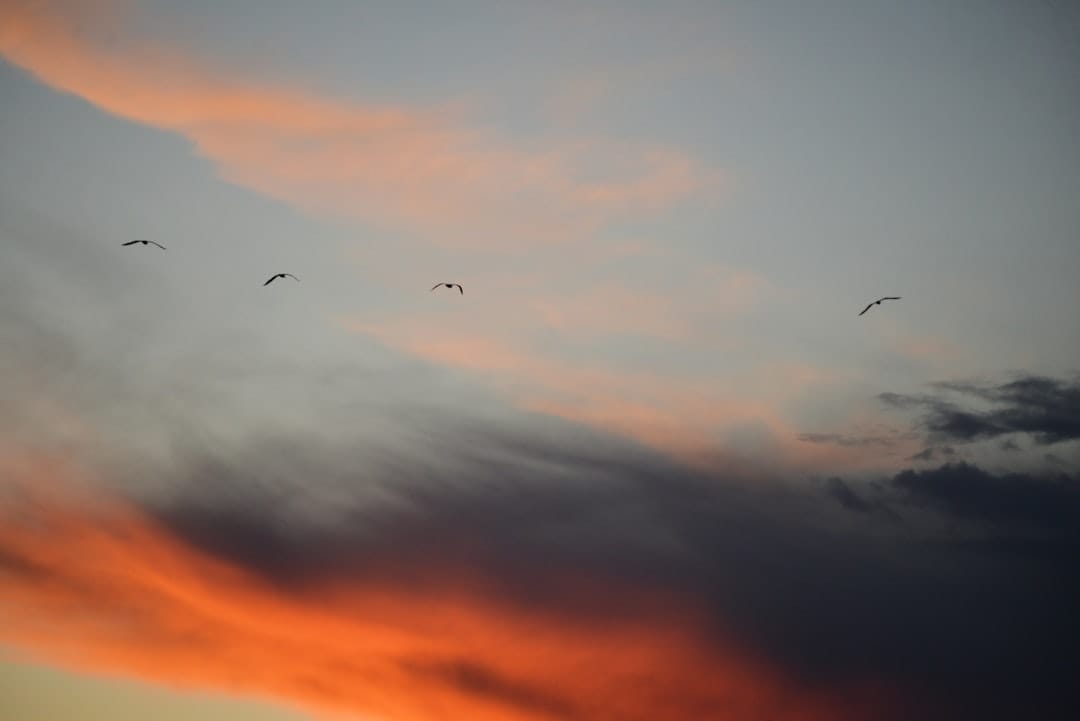
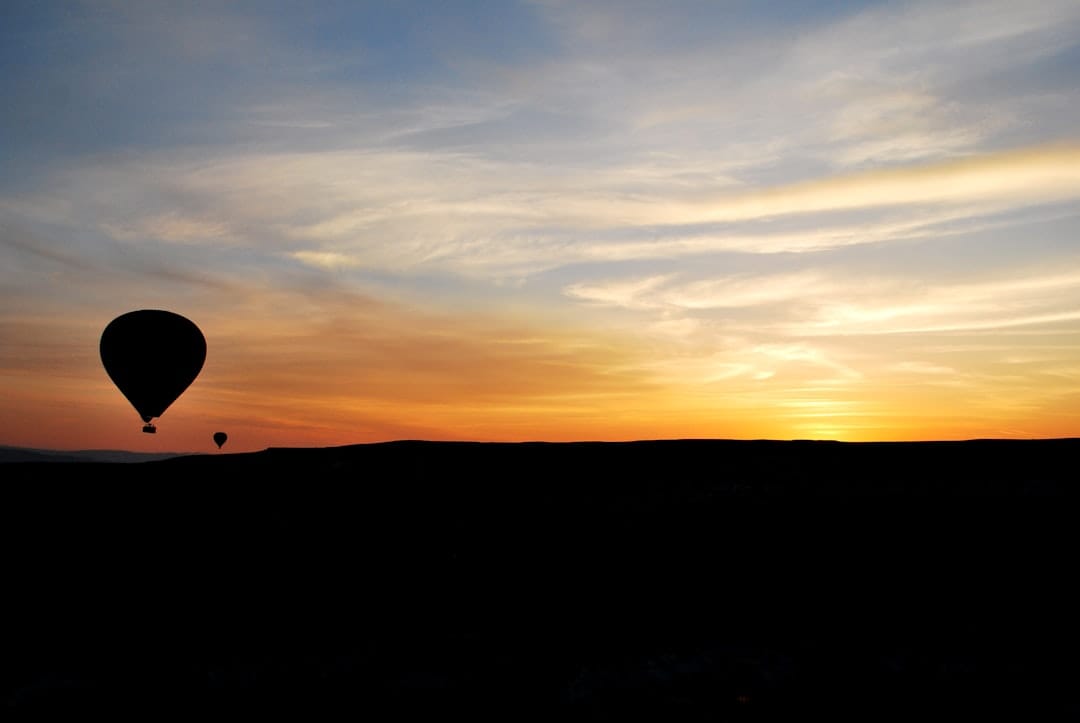
- Golden-hour silhouettes: Manual, 1/1600 sec, f/8, ISO Auto, dial negative exposure compensation until the sky keeps color, subjects go inky.
- Low-light portraits: Manual, 1/800–1/1000 sec, f/4–f/5.6, raise ISO as needed; use noise reduction later.
1) Start with the light: sunrise and sunset win
At Bosque del Apache, light quality is your superpower. Position yourself with the sun at your back for clean detail, then pivot to side/backlight for dramatic rim light on cranes and geese. Arrive 45–60 minutes before sunrise to claim a spot and set up.
- Morning: “Blast-off” at Crane Pools or Flight Deck, crisp air, warm hues.
- Evening: Return flights with smokey skies and mirrored reflections in shallow water.
2) Dial in reliable bird photography settings
For fast action, consistency beats constant tinkering. Use one of these setups:
- Manual with Auto ISO: Lock shutter and aperture, let ISO float; ride exposure compensation for white birds like snow geese.
- Shutter Priority: Great for birds in flight; set 1/2000 sec, let the camera set aperture (watch it doesn’t max out).
- Back-button focus: Decouple focus from the shutter to prevent unintentional refocus.
3) Master focus modes and AF areas
Fast, sticky focus matters more than megapixels. Set Continuous AF (AF‑C/AI Servo) and use a dynamic AF area:
- For single birds: Single-point or small zone on the eye/head.
- For flocks and erratic movement: Wide/Zone AF to keep tracking.
- Eye-detect (if available): Useful, but don’t rely solely on it in busy backgrounds.
Pro tip: Pre-focus on the where—not just the bird. If cranes repeatedly pass a gap in the trees, pre-focus there to help your AF lock immediately when action hits.
4) Choose a telephoto lens for birds (without breaking the bank)
You don’t need a $12,000 prime. For beginners, look for reach, stabilization, and manageable weight.
- Best value picks: 100–400mm, 150–600mm, 200–600mm zooms.
- On APS‑C bodies, a 100–400mm acts like ~150–600mm—perfect for Bosque range.
- Teleconverters: 1.4x can help if AF stays reliable; avoid stacking.
Wondering about the best camera for bird photography? Prioritize:
- Fast, accurate AF with subject tracking and good buffer depth.
- 10+ fps continuous shooting.
- Solid high-ISO performance and weather sealing.
For a deeper gear run-through, see this complementary Safari Packing List for Photographers.
5) Stabilize smartly: tripod, monopod, or vehicle
Stability buys you sharpness and lower ISO. Use:
- Tripod with a gimbal head for long lenses while waiting at the pools.
- Monopod for mobile shooting on the loops.
- Beanbag from the car window; your vehicle doubles as a blind.
Keep shutter speeds high enough that stabilization doesn’t fight you on fast pans (consider turning off IS/VR when on a locked-down tripod).
6) Get the exposure right (especially for white birds)
Snow geese against a blue sky can trick your meter. Use your histogram, not just the preview.
- Add +0.3 to +1.0 EV when the sky dominates to keep whites clean.
- For backlit rim light, underexpose until the sky holds color and the subject silhouettes.
- Shoot RAW to recover highlights and manage noise in post.
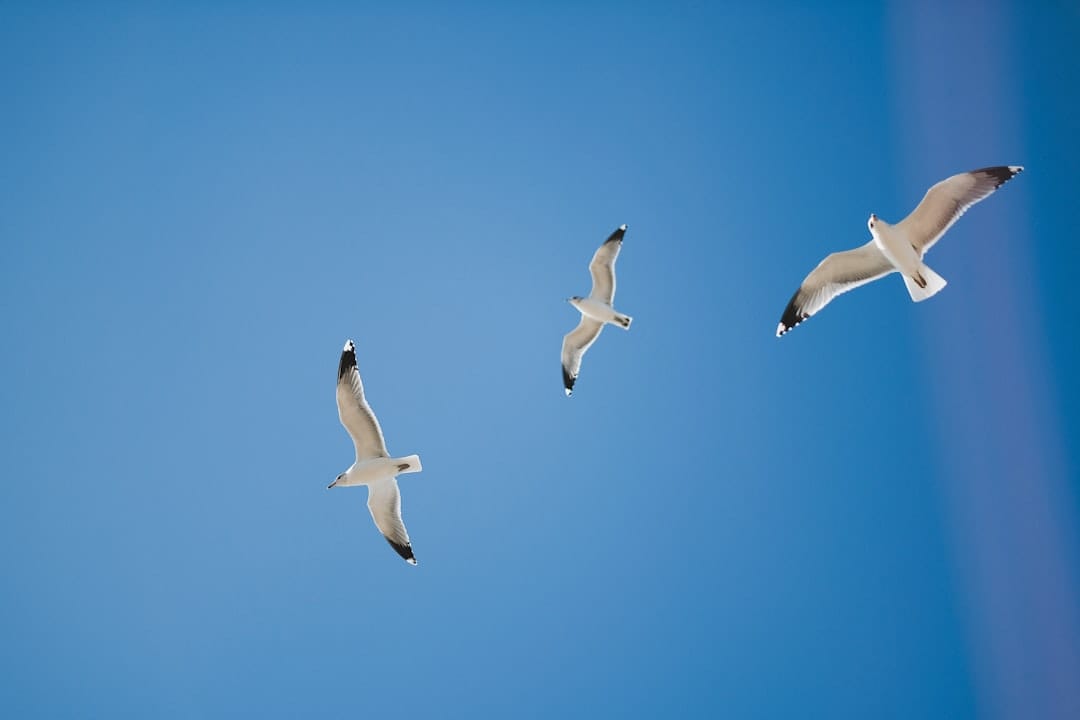
7) Shutter speed for birds in flight: freeze or flow
Crisp wings or motion artistry? Decide before you press the shutter.
- Freeze action: 1/2000–1/3200 sec for snow geese; 1/1600–1/2500 sec for sandhill cranes.
- Motion blur/panning: 1/60–1/250 sec; match your pan to the bird’s speed; keep feet planted and rotate at the hips.
- Compromise for wing blur: 1/800–1/1250 sec.
8) Compose for impact: eye level, clean backgrounds, and story
Great frames start with the background. Move your feet, adjust height, and shift your angle to simplify.
- Eye-level portraits feel intimate.
- Leave space in front of a flying bird’s beak (breathing room).
- Use reflections and leading lines in the marshes to ground your story.
- Mix portraits with environmental scenes to capture the scale of Bosque del Apache birds.
9) Learn the bird behavior to anticipate the moment
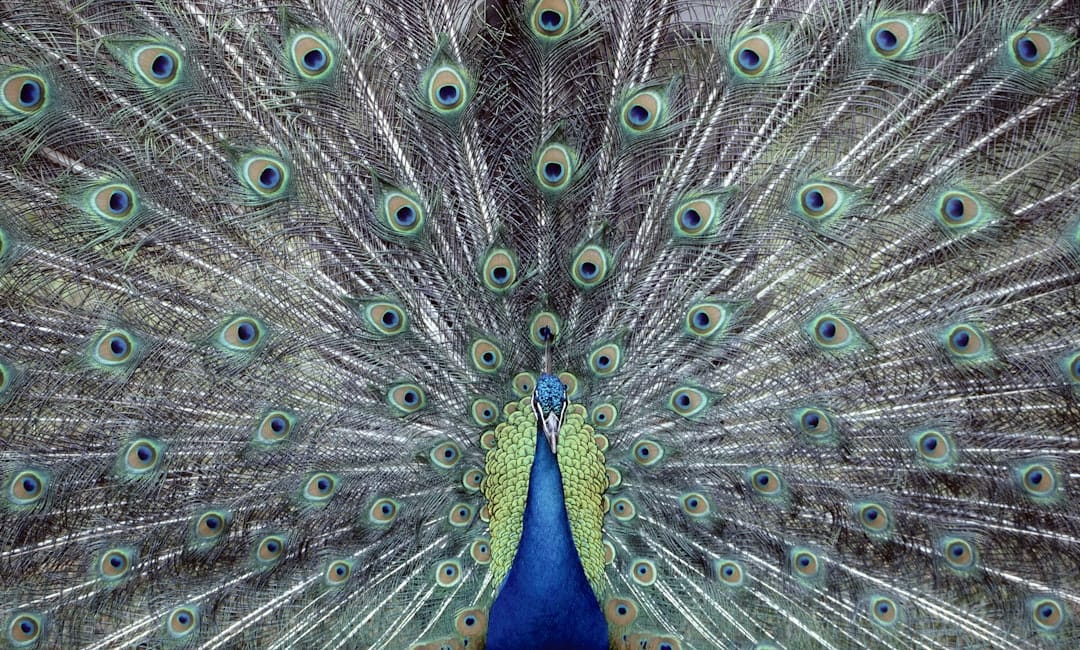
Anticipation beats reaction. Watch for:
- Pre-flight cues: crouch-and-launch posture, calling, wing stretches.
- Feeding to flight patterns: geese often lift off together at dawn; cranes lift in looser groups later.
- Wind direction: birds prefer to take off and land into the wind—position yourself accordingly.
eBird reports and observation boards at the refuge can hint at where the action concentrates on any given day. Local rangers often share the latest movement patterns; check the U.S. Fish & Wildlife Service refuge page for updates.
10) Respect ethics and wildlife first
Ethical choices protect the birds and your images’ integrity. Review Audubon’s Guide to Ethical Bird Photography and follow these rules:
- Obey signs, closures, and stay on designated roads/paths.
- Keep distance—if behavior changes (alarm calls, head bobbing, repeated flushing), back off.
- No baiting, no playback for sensitive species.
- Share space courteously with other photographers and birders.
11) Refine your burst discipline and buffer management
Spray-and-pray fills cards and misses peak wing position. Use short, intentional bursts:
- Start the burst a beat before lift-off.
- Release and re-acquire focus as birds change direction.
- Shoot to a rhythm that matches wingbeats, not max fps constantly.
Carry fast UHS-II or CFexpress cards and format between sessions to keep buffers clear.
12) Build a bird photography gear list that serves your style
Pack light enough to move, but complete enough to handle changes.
Essential kit:
- Camera body with strong AF and 10+ fps.
- Telephoto zoom (150–600mm or 200–600mm) plus a mid-zoom (24–105mm) for context.
- Sturdy support: monopod or tripod with gimbal head.
- Extra batteries, fast memory cards, microfiber cloths, blower.
- Lens hood, rain/dust cover, hand warmers, thin gloves with grip.
For more field-tested ideas, browse these related guides:
- Fossil Rim Wildlife Center Photo Tips
- Ontario Wildlife Photography Guide
- Safari Packing List for Photographers
13) Dress for the elements and protect your gear
Dawn at Bosque can be cold and breezy. Comfort keeps you focused.
- Layer system with windproof outer shell.
- Insulated boots and merino socks for frosty mornings at the pools.
- Chemical hand warmers: one in your pocket, one rubber-banded near your lens foot to fight battery fade.
- Simple rain cover or dry bag; dust protection for the auto loops.
14) Where to go at Bosque: a beginner-friendly map in words
Use this short list to plan your day. Routes change seasonally—check daily maps at the visitor center.
Best spots:
- Crane Pools: Sunrise silhouettes, group lift-offs, mirror-like reflections.
- Flight Deck: Close fly-bys and mixed species action.
- North/South Auto Loops: Portraits of herons, egrets, ducks, raptors; stop at pullouts and shoot from the car.
Best times and positions:
- Pre-dawn: Set up at Crane Pools facing west for flaming skies behind birds.
- Mid-morning: Drive loops for side-lit portraits and behavior (preening, feeding).
- Late afternoon: Work backlit rim light and return flights; face east for warm front light.
15) A simple Bosque day plan for beginners
Use this schedule to maximize light and learning:
- 60 minutes before sunrise: Park at Crane Pools, set exposure for silhouettes or warm front light.
- Sunrise to 1.5 hours after: Track flocks, then cruise the North Loop for portraits.
- Midday: Scout, rest, back up images, and review focus misses to adjust AF area/technique.
- 2 hours before sunset to blue hour: Return to the pools and Flight Deck for golden light and roost returns.
Bonus: Sandhill cranes photography—nuance matters
Cranes have slower wingbeats than geese. Exploit this for creative variety:
- 1/1600 sec for sharp wings with a hint of motion.
- 1/80–1/160 sec pans for elegant blur with sharp heads.
- Wait for leg extensions and trumpet calls for expressive frames.
Recommended starting points for different goals
- Sharp flight shots (snow geese): 1/2500 sec, f/7.1, Auto ISO ≤ 6400, Zone AF.
- Portraits (heron/egret): f/5.6–f/7.1, 1/1000 sec, ISO 400–1600, single-point AF on the eye.
- Environmental scenes: f/8–f/11, 1/1000 sec, ISO Auto, include sky and reflections for scale.
Fieldcraft that accelerates your progress
- Park and wait: Let birds come to you; sudden repositioning spooks flocks.
- Low profile: Kneel or sit near edges; car windows make excellent low-impact hides.
- Pre-compose: Pick a clean background, then wait for the subject to enter your frame.
For a different venue to practice similar techniques, try these wildlife and photo-forward destinations:
Post-processing basics to polish your images
Keep edits natural and consistent:
- Cull ruthlessly—sharp eyes and clean backgrounds win.
- Apply noise reduction lightly; preserve feather detail.
- Set white balance to match the warmth of dawn/dusk, avoid neon hues.
- Crop to strengthen composition; maintain breathing room around tips of wings.
Common mistakes—and quick fixes
- Blown whites on geese: Use exposure compensation and check the histogram; aim to protect highlights.
- Missed focus on the body: Move the AF point to the head; avoid all-auto AF areas in busy reeds.
- Shutter too slow: Raise ISO or open the aperture; prioritize sharpness over noise.
Birding travel guide logistics at a glance
- Where: Just south of Socorro, New Mexico; paved access and well-marked loops make navigation easy.
- Access: Hours and loop openings vary seasonally—see the U.S. Fish & Wildlife Service page.
- When: Late November often coincides with the Festival of the Cranes; lodging books up early in Socorro and San Antonio.
- Respect: Follow refuge rules and give space to both birds and people.
For additional inspiration and technique insights, National Geographic offers approachable primers like this overview of bird photography tips.
Compact checklist before you leave home
- Clean sensor, formatted cards, updated firmware.
- Custom mode saved for “flight” and “portrait.”
- Extra layers, gloves, warm hat.
- Snacks, water, headlamp, printed refuge map.
Bird photography for beginners: repeatable success recipe
- Anchor to light and background.
- Use dependable base settings, then iterate.
- Anticipate behavior, work the wind, and keep your distance.
- Practice panning daily—your keeper rate will soar.
Conclusion
Bosque del Apache rewards preparation with moments you’ll remember: the thunder of snow geese at dawn, the elegant glide of sandhill cranes at dusk, the quiet portraits in between. Show up early, keep your setup simple, respect the birds, and lean on the tips above. You’ll leave with images—and a connection to the place—that grows deeper each time you return. If this helped, share it with a friend who’s ready to trade “lucky shots” for a reliable, joyful process.
FAQs
What’s the best time of year to photograph birds at Bosque del Apache?
November through January is prime for sandhill cranes and snow geese, with dramatic sunrise “blast-offs” and sunset returns. Spring and fall bring diverse migrants and calmer crowds.
What camera settings should I use for birds in flight?
Start at 1/2000–1/3200 sec, f/5.6–f/8, Auto ISO (cap near 6400), Continuous AF with Zone/Wide AF. Adjust shutter speed to match wingbeat speed—geese need faster than cranes.
Do I need a 600mm lens to get good shots?
No. Zooms like 100–400mm or 200–600mm are excellent, especially on APS‑C bodies. Use your vehicle as a blind, crop thoughtfully, and prioritize light and background over raw reach.
Are permits or special passes required?
Standard refuge rules apply, and access can vary by season. Check current hours, fees, and road conditions on the U.S. Fish & Wildlife Service: Bosque del Apache.